How to make a LARP sword might seem like a daunting task. Professionally-made LARP swords are more affordable than ever, and come equipped with a range of safety features – for example, our LARP swords are all fitted with a carbon-fiber safety tip. But there’s honestly nothing like building your own LARP sword from scratch – and it’s surprisingly doable! With a bit of patience, you’ll end up with a stunning unique custom-made LARP sword.
Safety First
Not long ago, all LARP swords were homemade. In the early days of the hobby in the 1970s and 1980s, LARPers would make simple ‘boffers’ by wrapping pillows around a cane, and binding it tight with tape. Gradually, foam and latex became the standard materials for making LARP weapons that are weight and satisfying to use, whilst remaining safe for use in contact combat. By the 2000s, LARP weapons had developed the modern range of safety features, such as anti-shred foam, carbon fiber cores and safety tips.
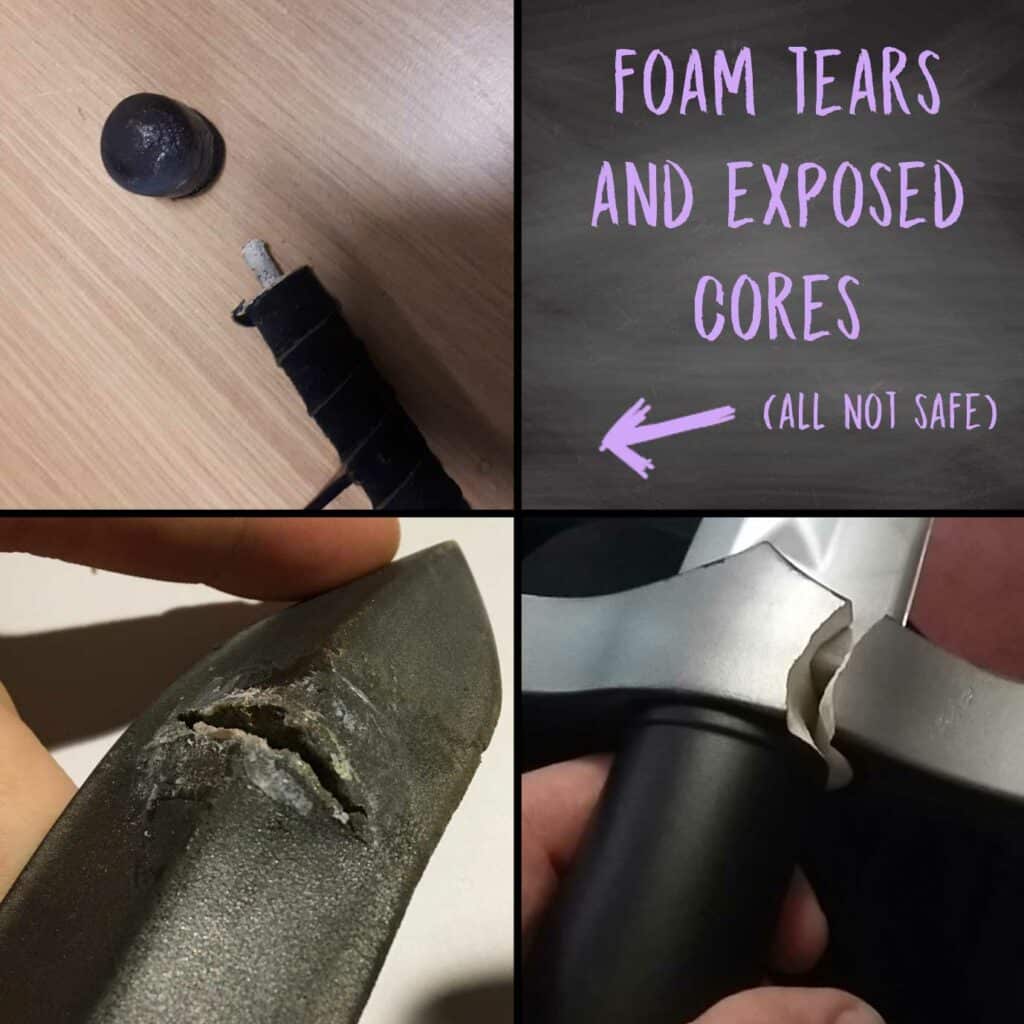
These features help keep players safe on the field, and in public LARP games they are almost always a requirement. Games frequently have dedicated weapons-checkers, who will examine everyone’s weaponry before an encounter, ensuring that weapons have the requisite safety features, and that they are undamaged and not as risk of splitting (potentially exposing sharp carbon-fiber or fiberglass cores). If you’re designing your own sword for use in LARP combat, then it’s definitely worth looking up the weapon requirements of your game to ensure that your weapon will be compliant. However, if you’re intending to use it for display, then those features are less critical – but you should definitely consider them anyway!

A Step-by-Step Guide On How To Make A LARP Sword
So – on to how to make your own LARP sword! Our very own DIY LARP sword will be made with a carbon-fiber or fiberglass core, with a foam outer, with a latex topcoat. This is the most common LARP sword type. Some LARP weapons are made from hard polyurethane (PU) foam without a latex topcoat – but these are generally harder to make yourself, since they require casting and injection-moulding machinery. If you haven’t got that sort of machinery lying around, keep reading!
Choosing Your Materials
We’re going to be creating a sword made with a solid rod core, with a foam outer, and an outer layer of latex. The first step is selecting and gathering the materials you’re going to use. As mentioned earlier, part of this is going to be determined by the safety requirements involved: either those of the full-contact LARP system you’re intending to use it on, or some basic safety features for use as a display weapon.
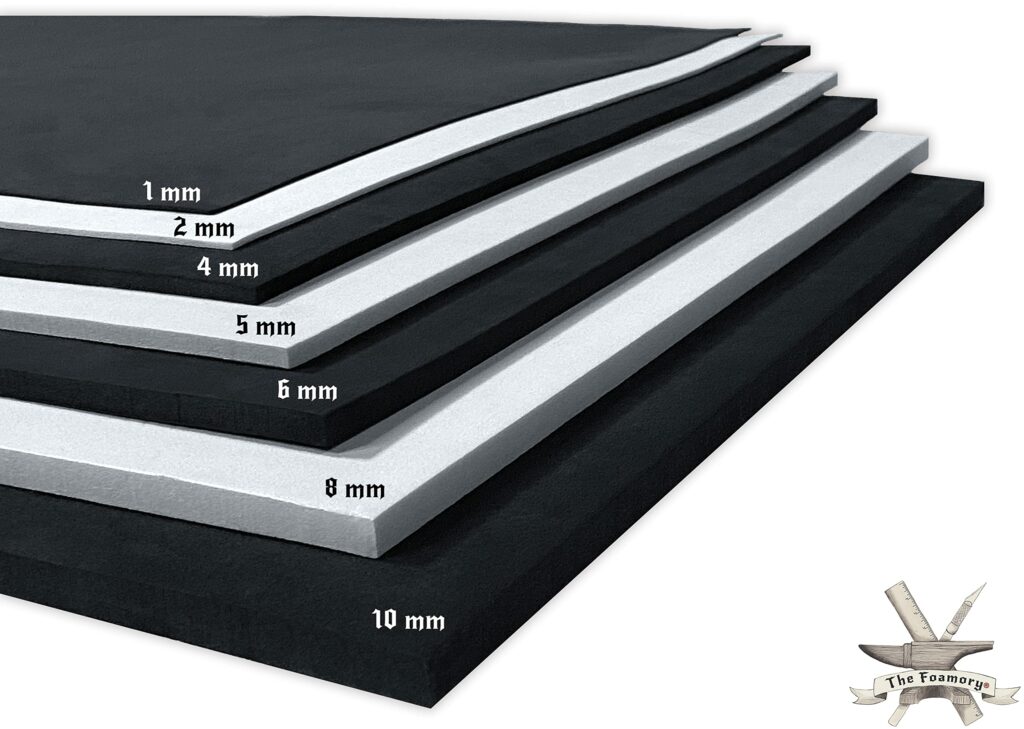
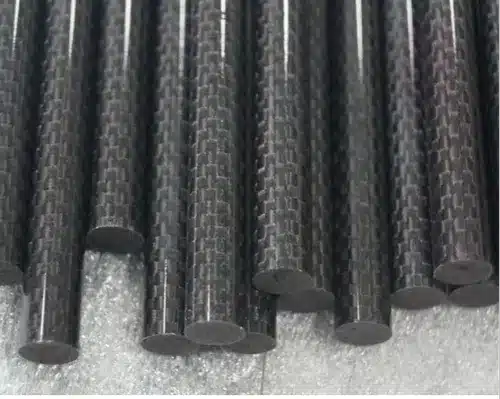
Your choice of foam is pretty important. There are an enormous variety of foam types available, but the rule of thumb is: closed-cell foams are your friend. They are non-absorbent and shred-resistant, meaning they won’t get soggy and won’t become easily damaged on the battlefield. Open-cell foams aren’t suitable for LARP weaponry. Some closed-cell foams include high-density EVA (ethylene-vinyl acetate), or LD45. These are both common, and reasonably cheap, with sheets or blocks available at most craft/hobby stores. Sheets that are 10mm in thickness are ideal for most blades – but thicker ones are better for the Template Method below. Core materials are a little trickier: fiberglass rods are common and cheap, but carbon fiber cores are much more durable – at greater cost. You’ll need a length that is at least as long as your whole sword. Most swords will be fine with a 10mm diameter core, but some large two-handed swords might need a 12 or 15mm core to pass safety inspection. Also, don’t worry if you can only find a fiberglass or carbon fiber core that is a too long, you can always cut the rod to size.
As well as foam and a core rod, you’ll need a strong foam glue to bind everything together. The ideal glue is contact cement: this glue is very strong (probably stronger than the foam itself!), and is slightly elastic to absorb impacts to the blade. But it’s quite nasty to work with: the fumes it gives off are both toxic and flammable, so make sure to work in an extremely well-ventilated area, if not outside. As well, it’s fast-setting, so working accurately first-time is critical to getting a good finish on your LARP sword. An alternative is hot glue applied via a heat gun – whilst it’s not as strong, it’s much easier to work with, and is available almost everywhere.
You’ll also need some safety equipment and tools. If you’re working with contact cement or solvents, a mask and/or properly rated breathing filter is important, as well as eye-protection and disposable gloves. You’ll also need a craft knife, some adhesive tape, chalk for marking, a tape measure, and a small saw if you intend to cut down your core rod, as well as paint and liquid latex/plastidip to finish your blade. Finally, make sure you have a durable crafting surface!
Cutting the Core
First off, you’ll need to make sure your core is the right size. Give yourself an inch for the pommel, four inches for a single-hand grip, an inch for the guard, plus the length of the blade. 50cm is a good total length for a single-handed blade. If you can find a fiberglass or carbon core at the right length, that’s great, but you can easily cut them down if need be. Fiberglass is easy to cut with a saw, but you should be careful of glass fibers, which can be dangerous if inhaled. With your filtration mask and eye-protection in place in a well-ventilated area (preferably outside), wrap tape around the point at which you want to cut, before you start sawing. Once you’ve cut it off, tape over the cut edge.
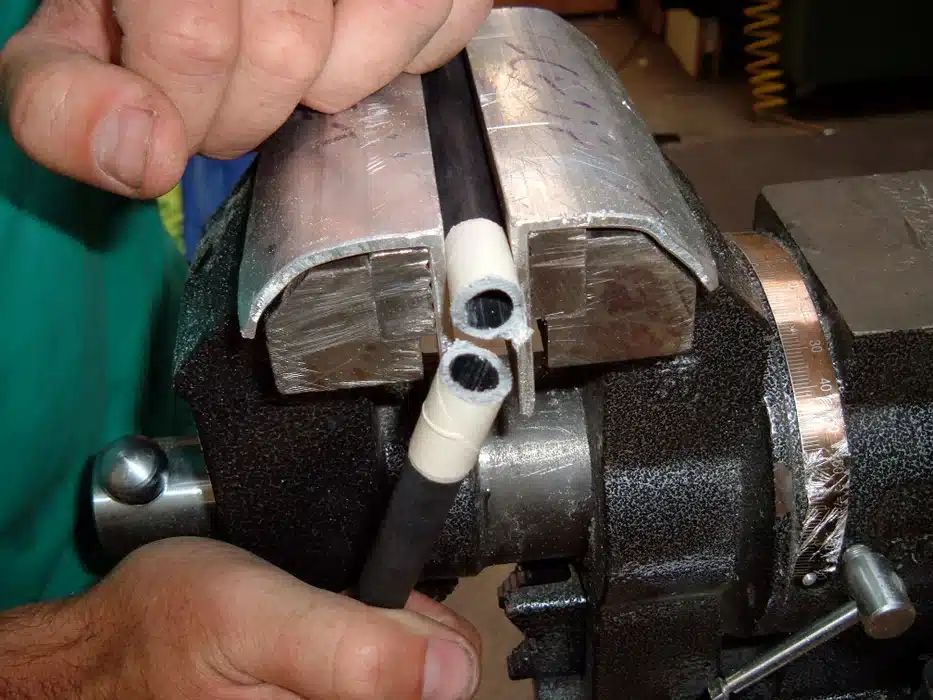
For cutting through carbon fiber, the technique is different. You’ll need a cutting surface, a craft knife and some cloth or paper towels. Mark off where you need to cut, and wet the paper towels/the cloth, laying it down on the cutting surface. Place the flat of the craft blade on the line where you want to cut, rolling the carbon fiber rod forward and backward over the wet surface. This will cut the carbon fiber one layer at a time, whilst keeping it damp to minimize flying particles. Once you’re done, seal the end with a dob of hot glue.
Building The Blade
The next step in how to make a LARP sword is constructing the blade. The principle we’re going to use is sandwiching the core between multiple layers of foam. There are multiple ways to achieve this, and we’ll summarize them here. The Box Method and the Eryndor Method are both perfect for how to make a simple LARP sword for demonstrative LARP, eg. Belegarth or Dagorhir – if you want to try something more advanced, then go for the Template Method. But remember – check your LARP game’s weapon construction requirements first!
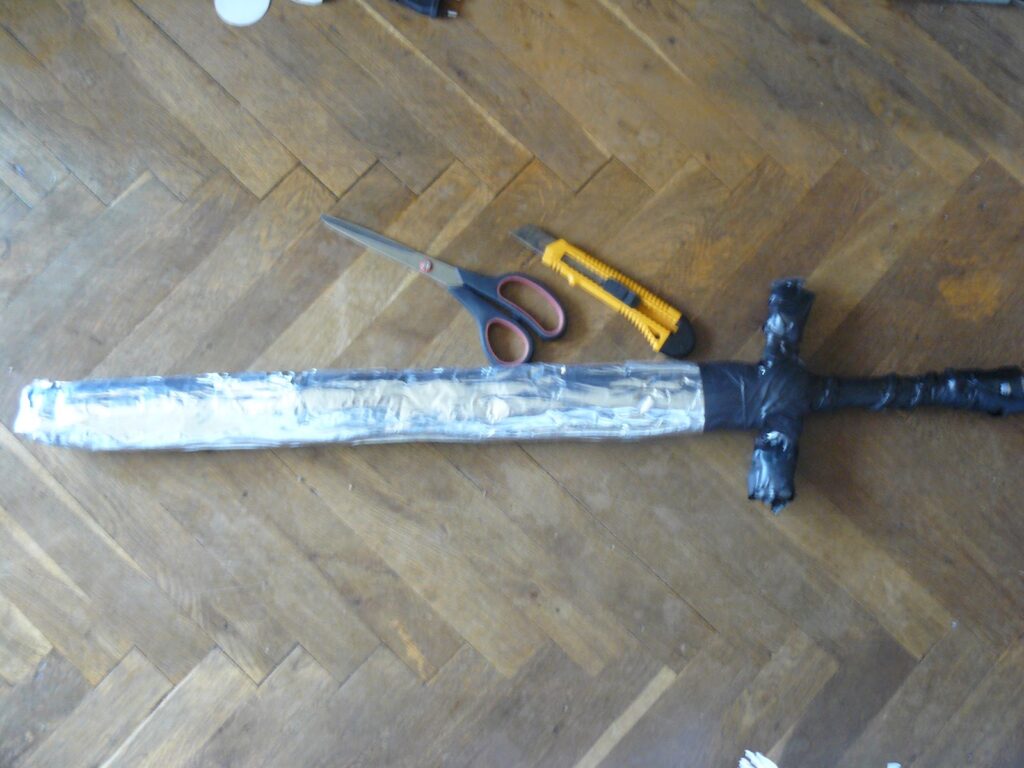
1. The Box Method
- Cut two square strips of foam – they should be the same width as your core, and the length from the top of the guard to the point (flush with the end). Glue these to either side of the core – you’ll need to do this pretty accurately if you’re using contact cement and want an even finish.
- Next, cut two strips of foam the width of the two square strips plus the core (in our example case, 10mm core width + 2 x 10mm square lengths). Glue these on opposite sides to sandwich the other pieces in place, forming a square in cross-section that sandwiches the core on all sides. (30mm square in our example).
- Build the edges out with two very long, narrow wraps of foam: these will be the same width as the square box you’ve made, and they’ll run from the hilt of the sword on one side of the blade, up to the tip, fold around the point of the core, and then back down to the hilt on the other side. The key to this method is to wrap the long strips of foam along the edge with the small square of foam. When you’re done, there should more than an inch of foam between the tip of the core and the outside of the point. Voila! You’ve made a sword blade!
2. The Eryndor Method
The Eryndor Method, named after one of the realms in Dagorhir, is similar to the Box Method, with the difference coming after you’ve enclosed the core on all sides. Instead of gluing the long wraps of foam to the edges with the small squares, this techniques builds out the blade the edge with the wide strip. This arguably creates a more stable blade that is less likely to split from edge impacts.
3. The Template Method
This method is better for creating a more custom-looking sword, particularly for asymmetrical blades like sabres – but it can potentially run afoul of safety requirements. So build with safety in mind! Instead of using square-cross-section foam pieces to build a square tube around the core, we’re going to make the blade by sandwiching the core between two thicknesses of foam.
- Make a paper template of the shape of your blade, including the length of the hand-grip and pommel. Make sure it is wide enough to accommodate the width of the core plus plenty of padding, and at least two inches of foam beyond the tip of the core, fully encasing the other end at the pommel. Don’t worry about cutting out the shape of the guard at this stage – we’re going to make that from a separate piece of foam.
- Once you’ve created a template which you’re happy with, cut two identical foam pieces with your template. These will be the ‘left’ and ‘right’ halves of your sword, with the core encased within it. Next, cut out a round channel the same length as your core in one templated piece of foam – this is where the core will sit. You can use a dremel or dig it out with a craft knife.
- Transfer this onto your other foam piece by dusting the channel with chalk, and tapping them together. Then, use this to make the second channel.
- Once you’ve gotten both channels dug, you’re ready to assemble both halves of the sword, sandwiching the core rod in the middle – make sure you put glue on both flat faces of the sword, as well as into each half of the channel.
- When it’s dry, you can cut the handle section off, exposing the bottom part of the core rod, putting aside the handle to reattach later.
- Finally, shape the edge of the blade to make it look like a sword: you can roughly bevel it in with a craft knife, finishing it with sandpaper.
Making a Hilt
Next is making the hilt pieces, to be threaded onto the core, which is projecting from the blade (effectively, this is exactly like the tang in a steel sword). All sorts of different hilt styles are possible. You could use strips of foam to build up a simple straight quilloned arming sword guard. Or perhaps you could cement several pieces together, and then shape them into a dramatic finish with a craft knife and sandpaper. You could even make a rapier-style basket hilt with a thin sheet of foam, heat-treated into shape to protect your knuckles. These are less of a safety concern, so go wild!
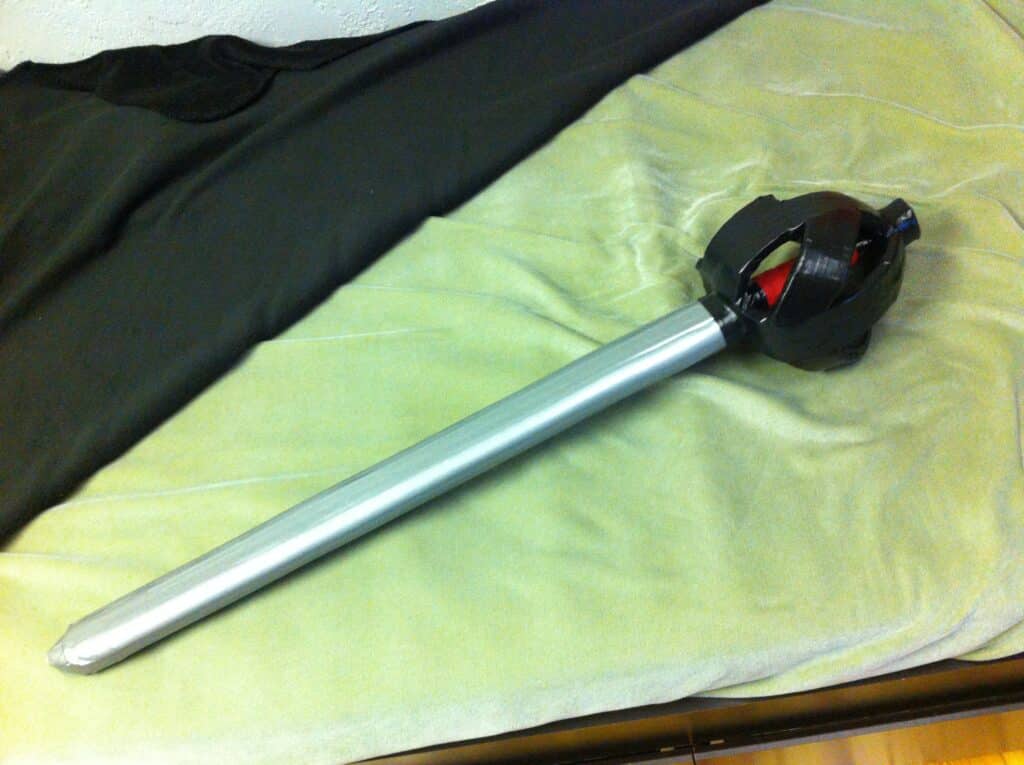
The grip is similarly within your command. You could construct a box-shape (as per the Box Method above) and then shape it into a cylindrical hand grip. You can think about binding it with string or thin rope for a textured effect – or even with a strip of leather!
Finally, the pommel is the last piece to be fabricated. If you’re looking for a simple finish, you can carve one of your foam material. However, if you want to go for a more sculptural effect, you could use foam clay, a marvelous substance that can be sculpted into shape. When you’re happy with your designs and how they fit together in the hilt, fit them all into place, making sure they’re snug and stable (little wedges of foam or foam clay can close up any gaps. Secure them all to the core and to each other with contact cement or glue.
Finishing Touches
So – if you’ve gotten this far, you now know the basics of how to make a LARP sword! Although what you’ve made is excellent, it’s probably quite plain, and might not last that long in battle. Finish off your sword by painting it and giving it a good coat of liquid latex or plastidip – this will seal the weapon, and will prevent surface damage in combat. You should coat your bare weapon first, and paint it afterward: think about the colour scheme, including shaded contours of metal, brass, wood and so on. Finally, you can give it a finishing topcoat of transparent latex. Congratulations! You’ve made your magnificent custom-build LARP sword!

 Historical Swords
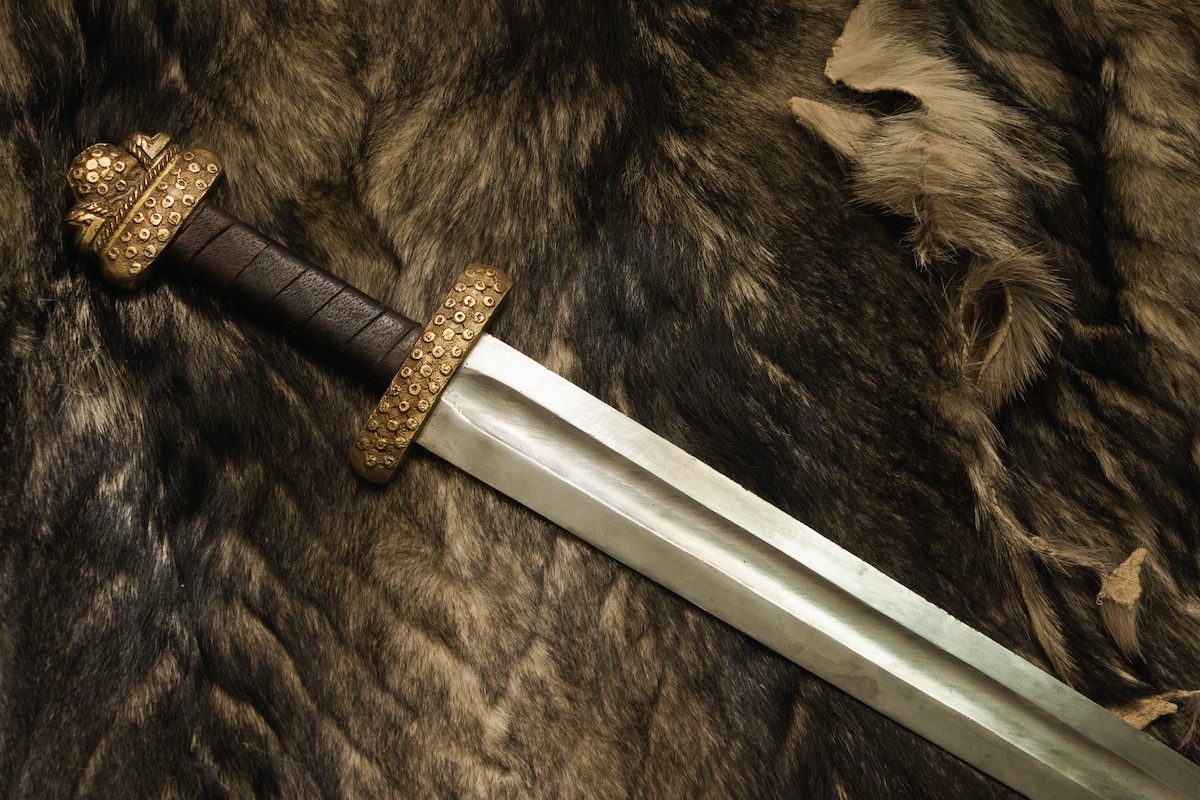 Norse & Viking Swords
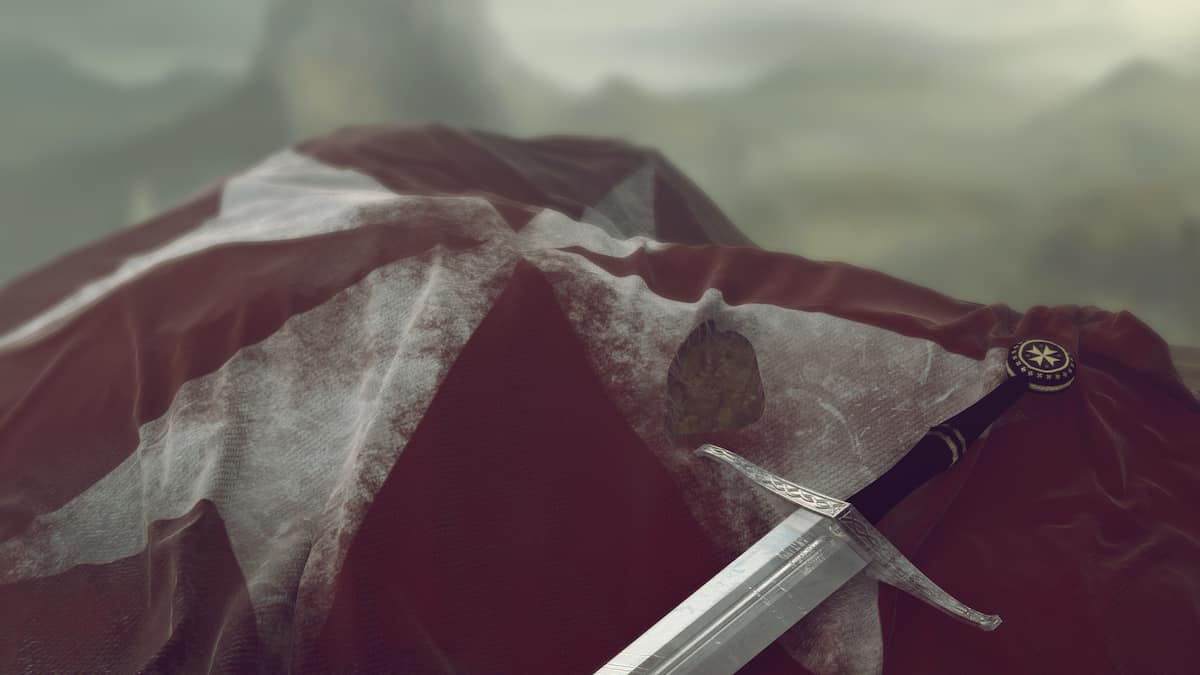 Templar Swords
 Claymore Swords
 Fantasy Swords
 Chainmail
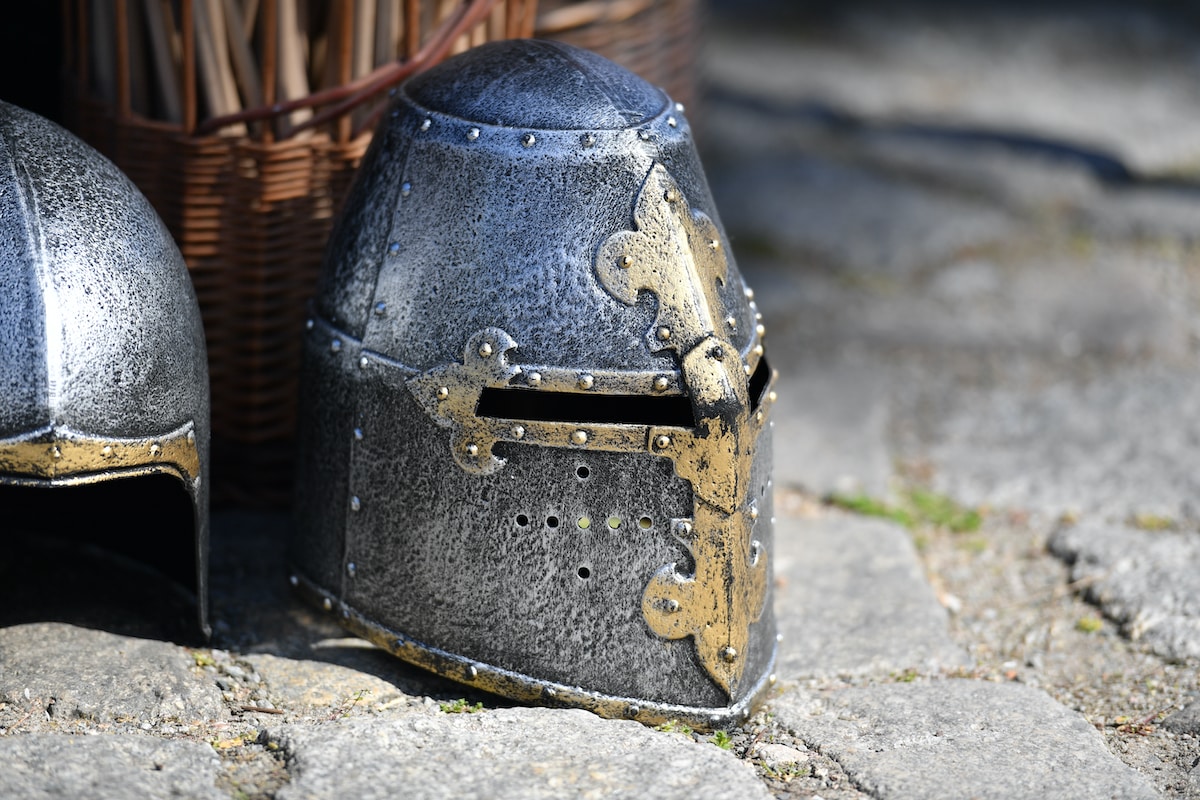 Helmets
 Torso Armor
 Bracers and Arm Protection
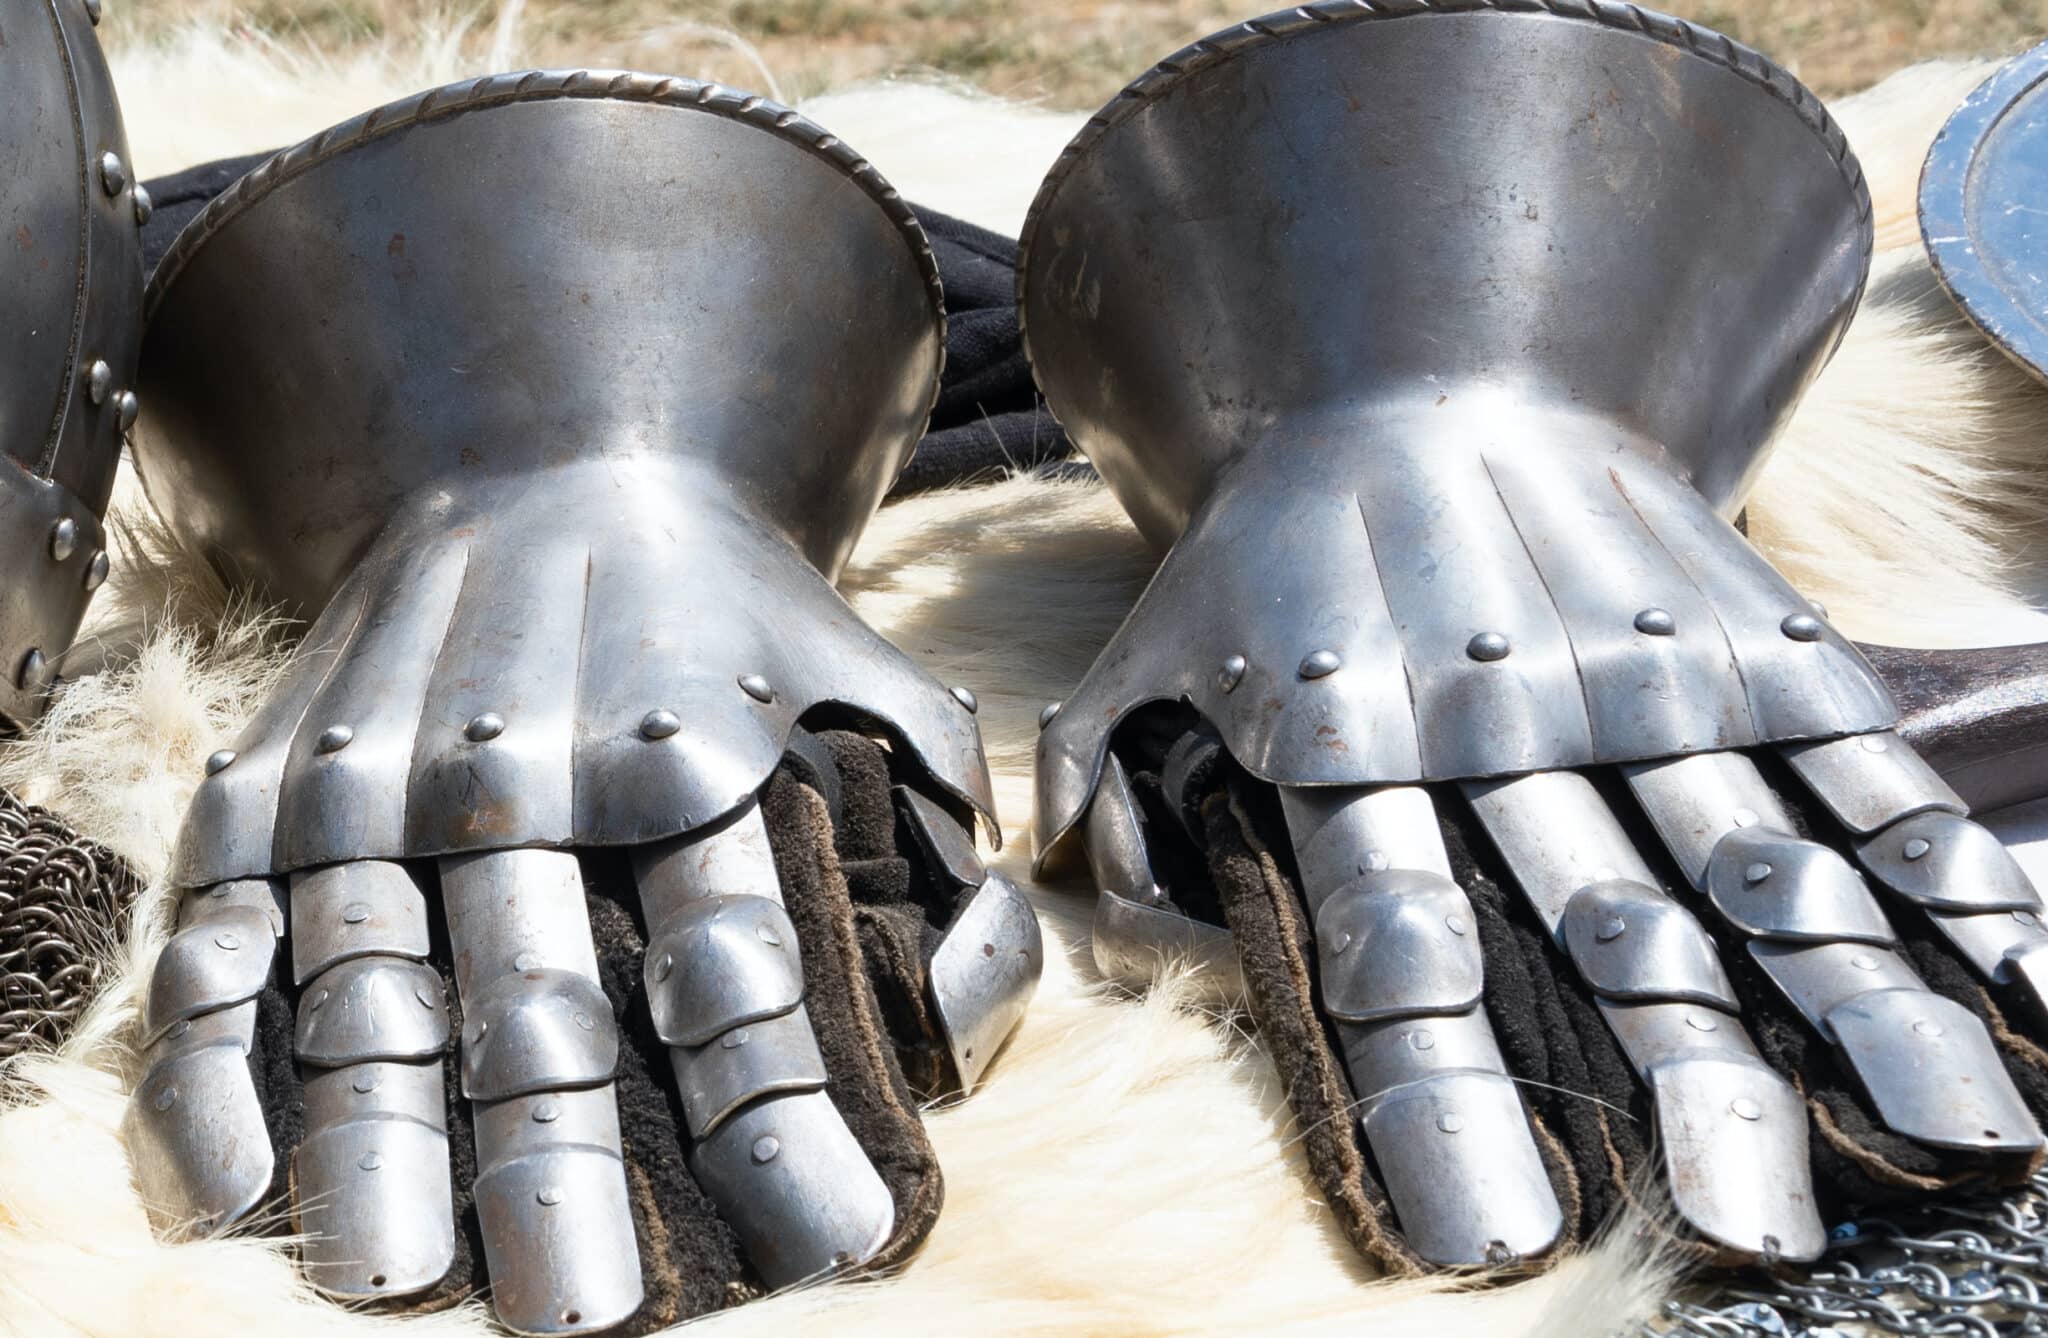 Gauntlets
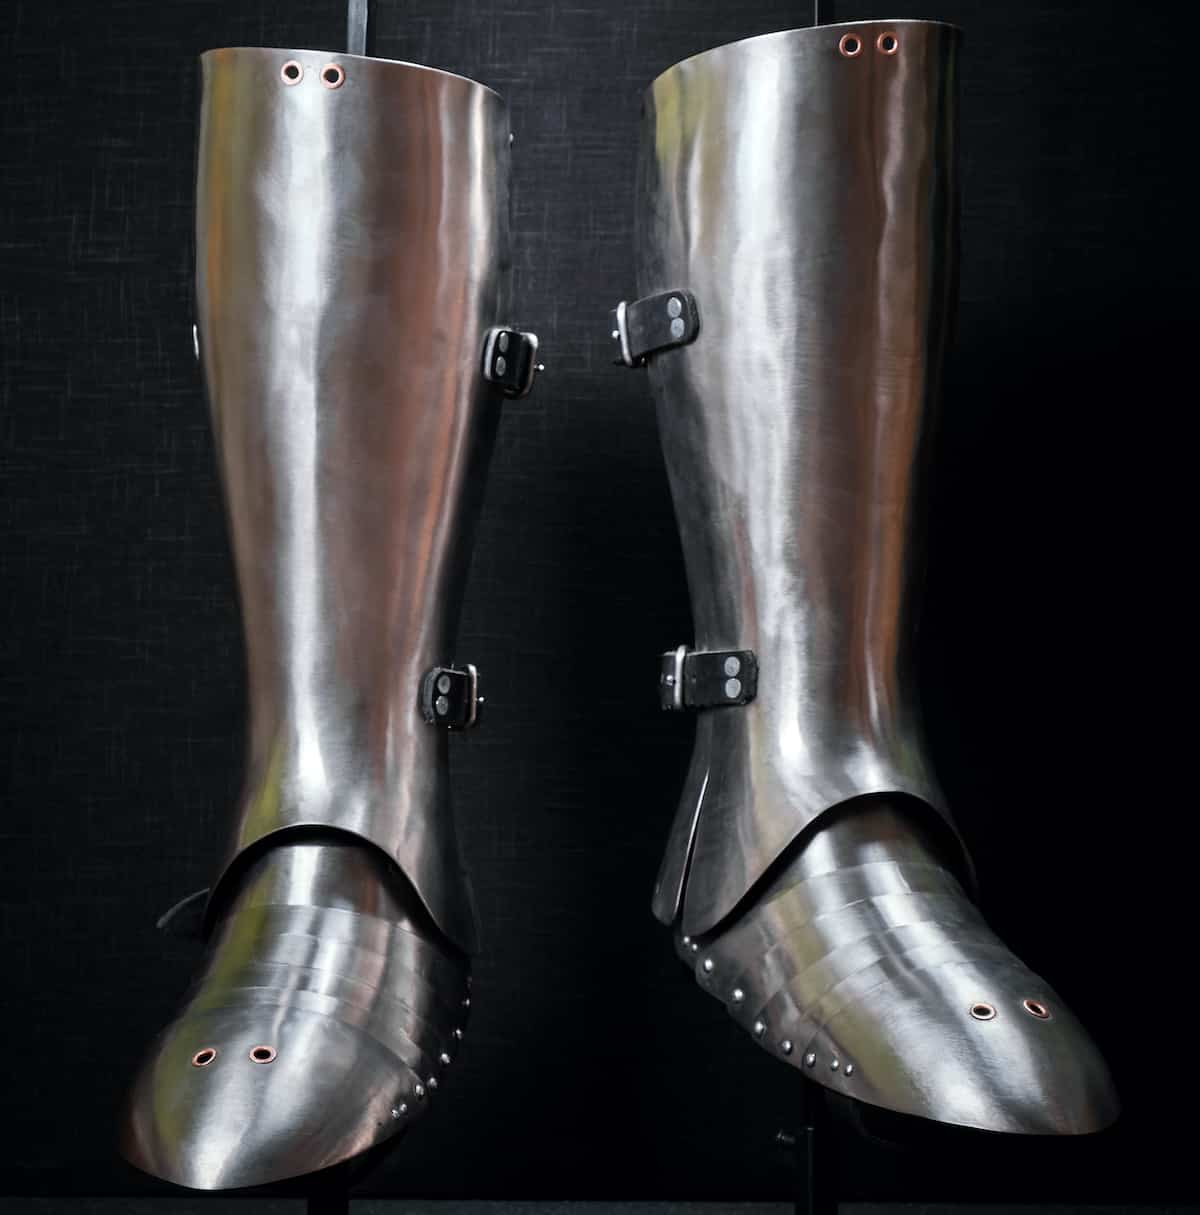 Leg Armor
 Cloaks
 Tabards
 Shirts
 Tunics
 Dresses
 Pants
Pants Gloves
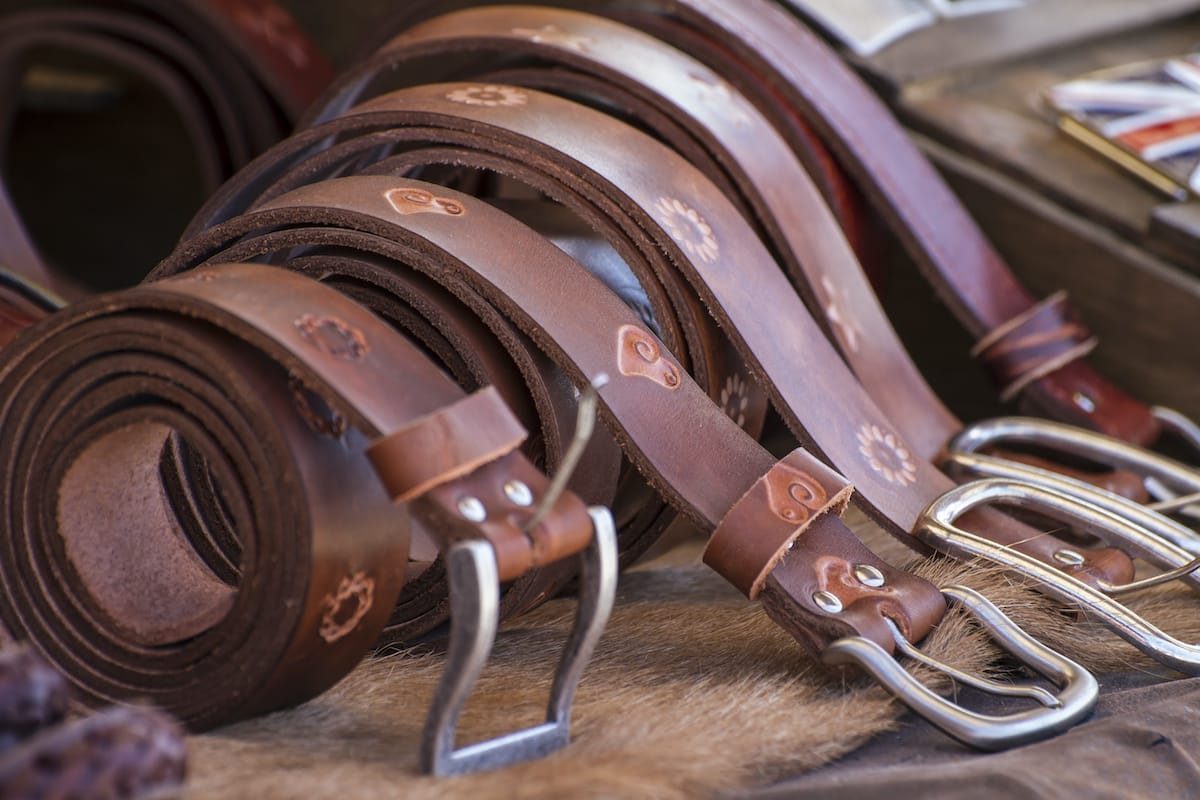 Belts
Belts Shoes
Shoes Rings
Rings Necklaces & Pendants
 Bracelets


