 Historical Swords
 Norse & Viking Swords
 Templar Swords
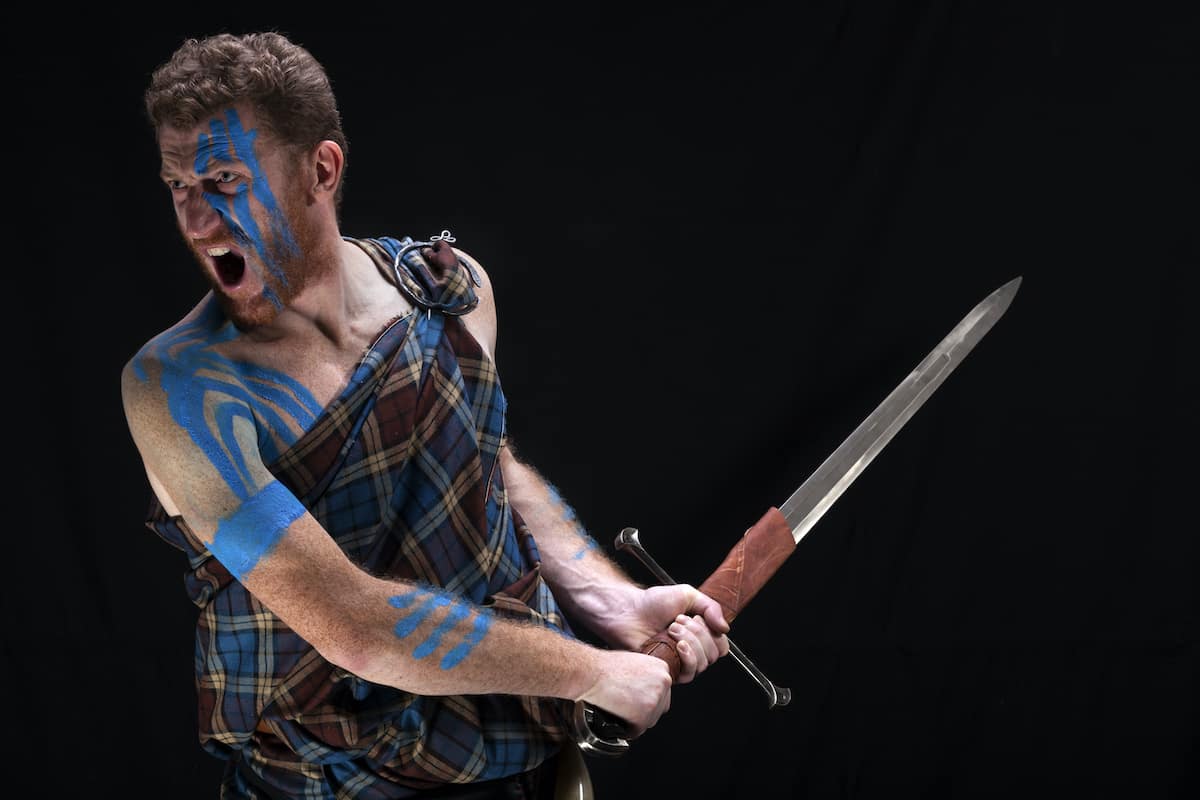 Claymore Swords
 Fantasy Swords
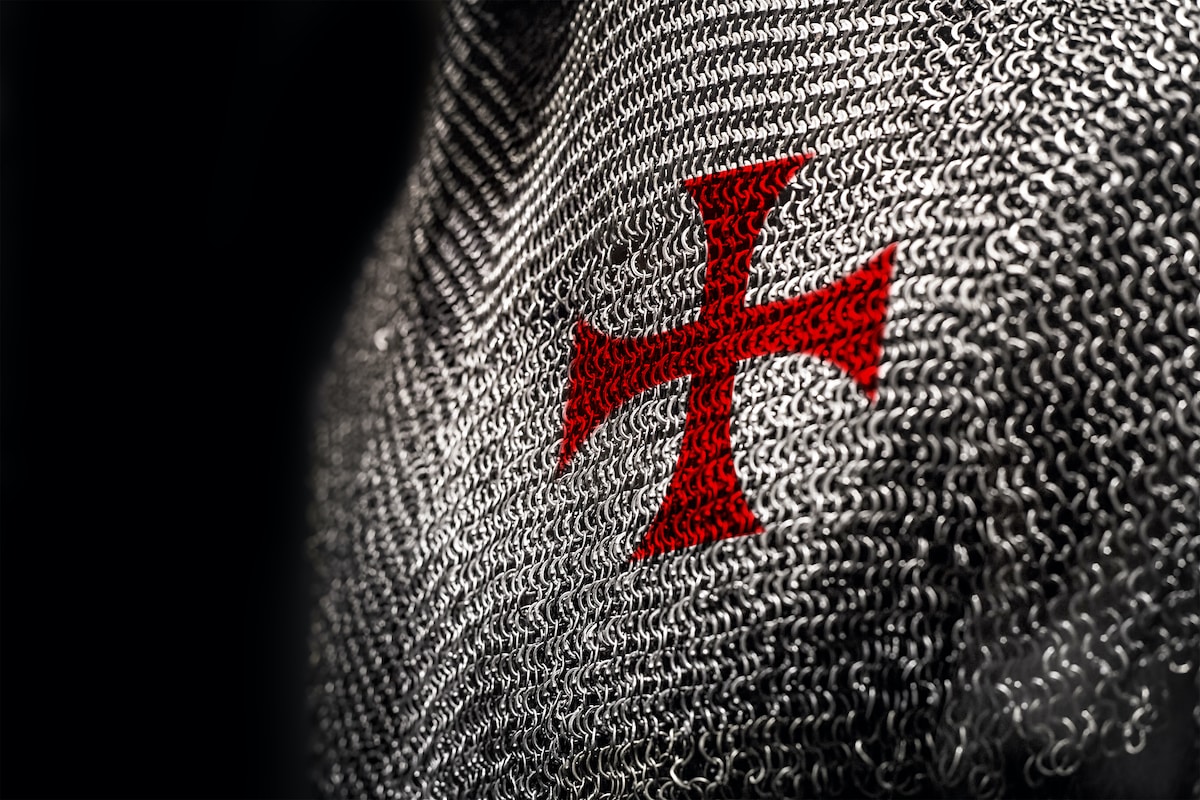 Chainmail
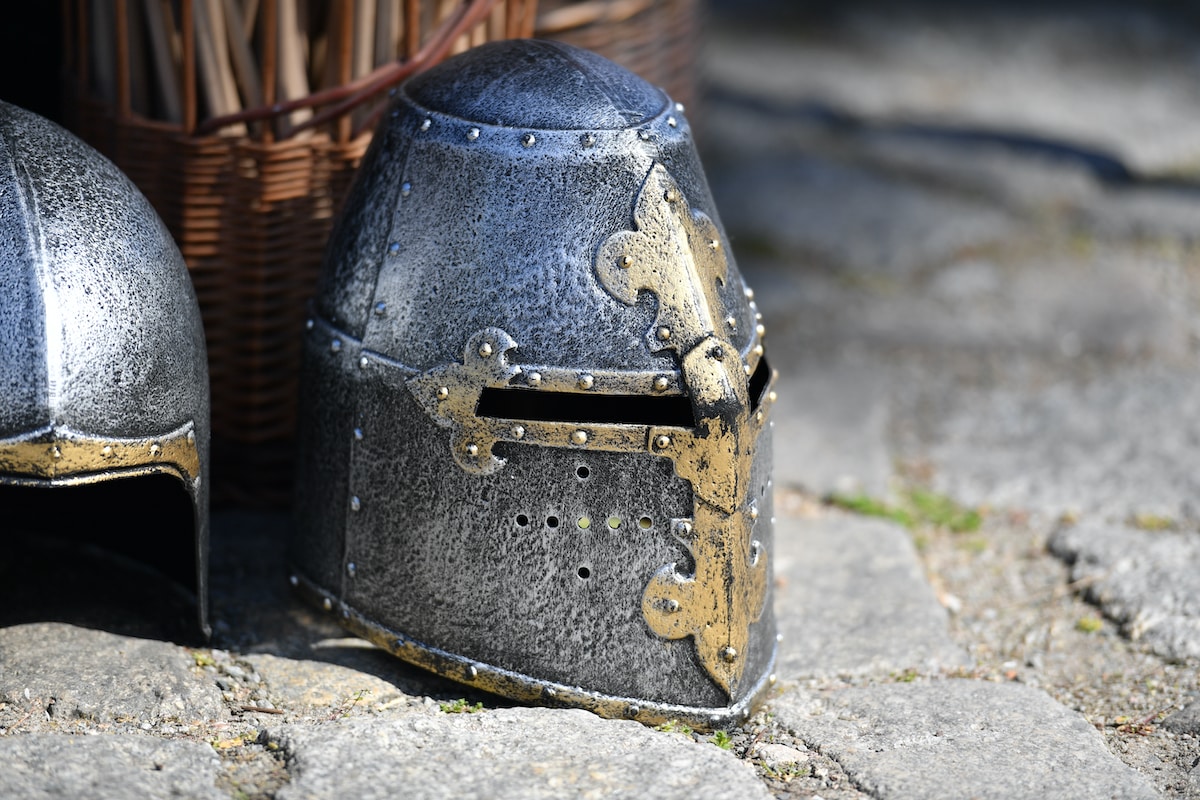 Helmets
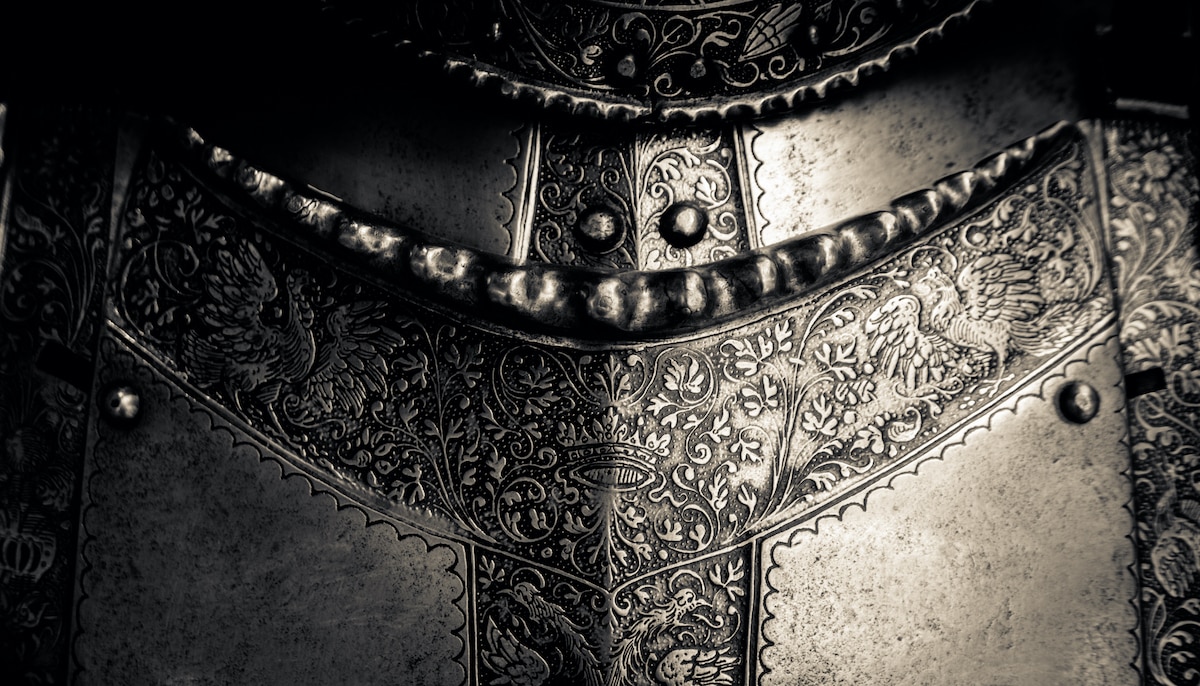 Torso Armor
 Bracers and Arm Protection
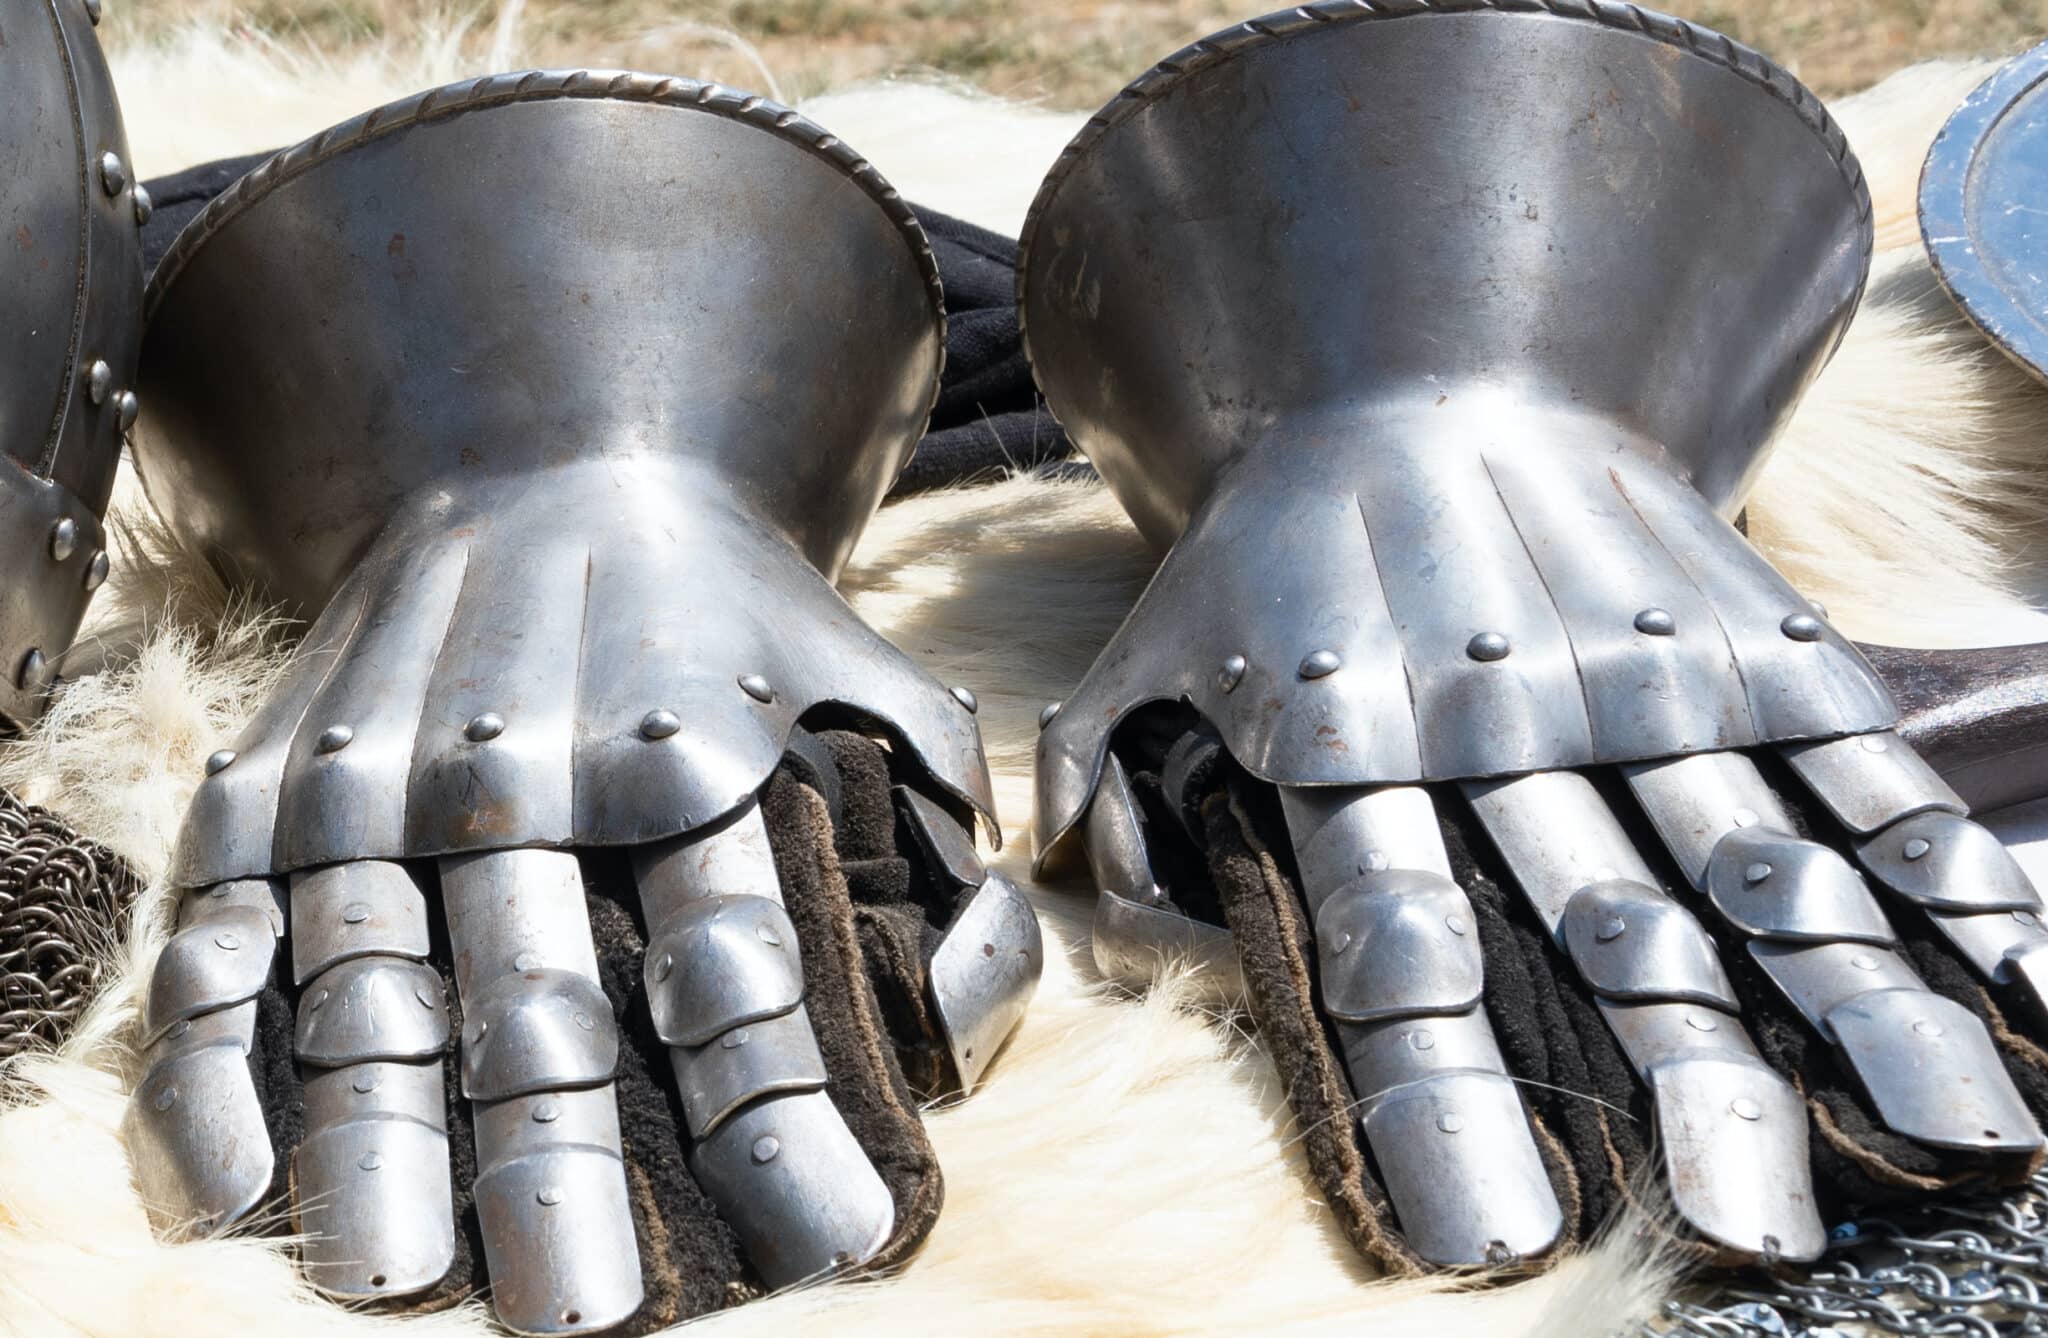 Gauntlets
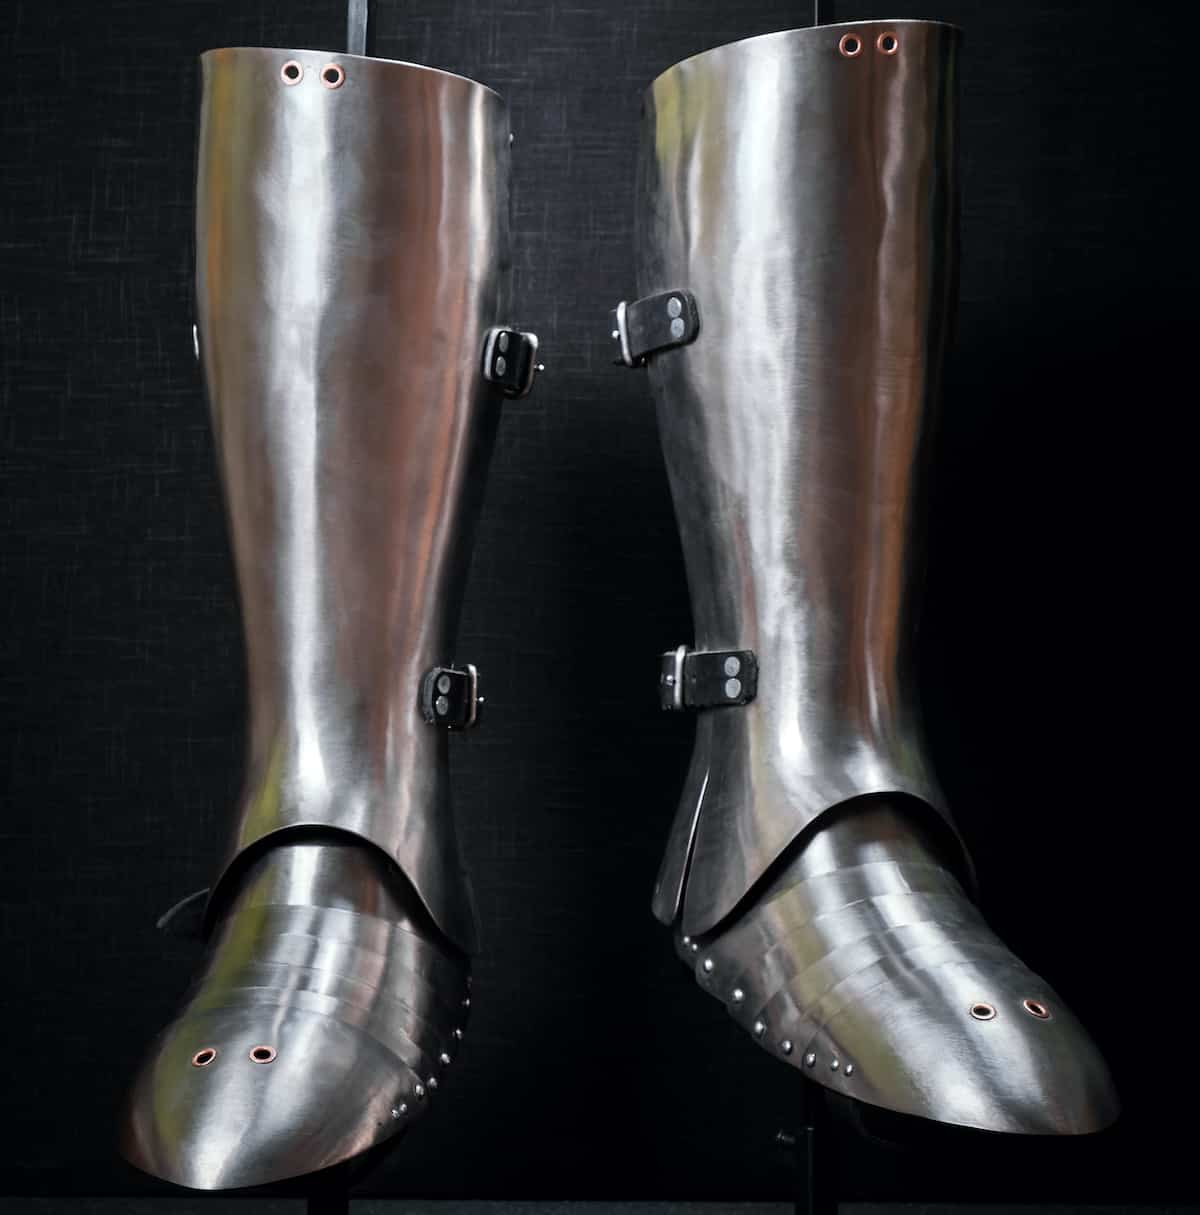 Leg Armor
 Cloaks
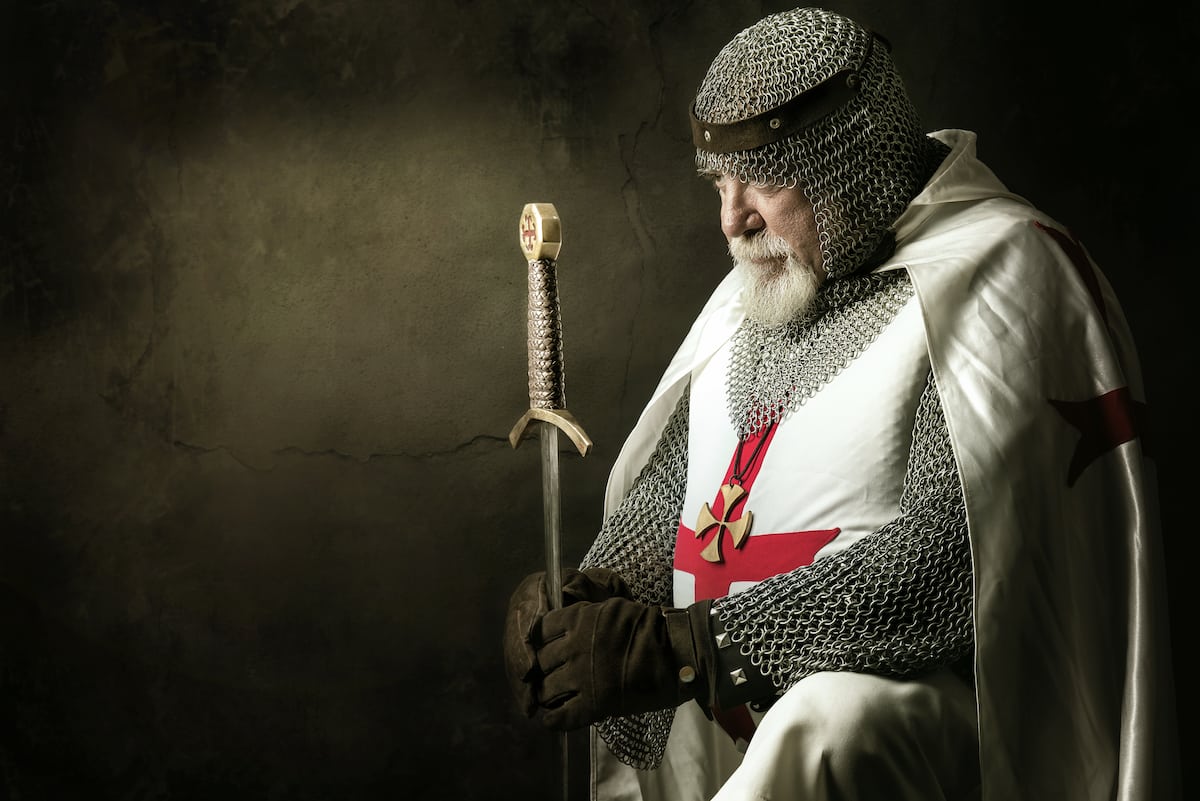 Tabards
 Shirts
 Tunics
 Dresses
 Pants
Pants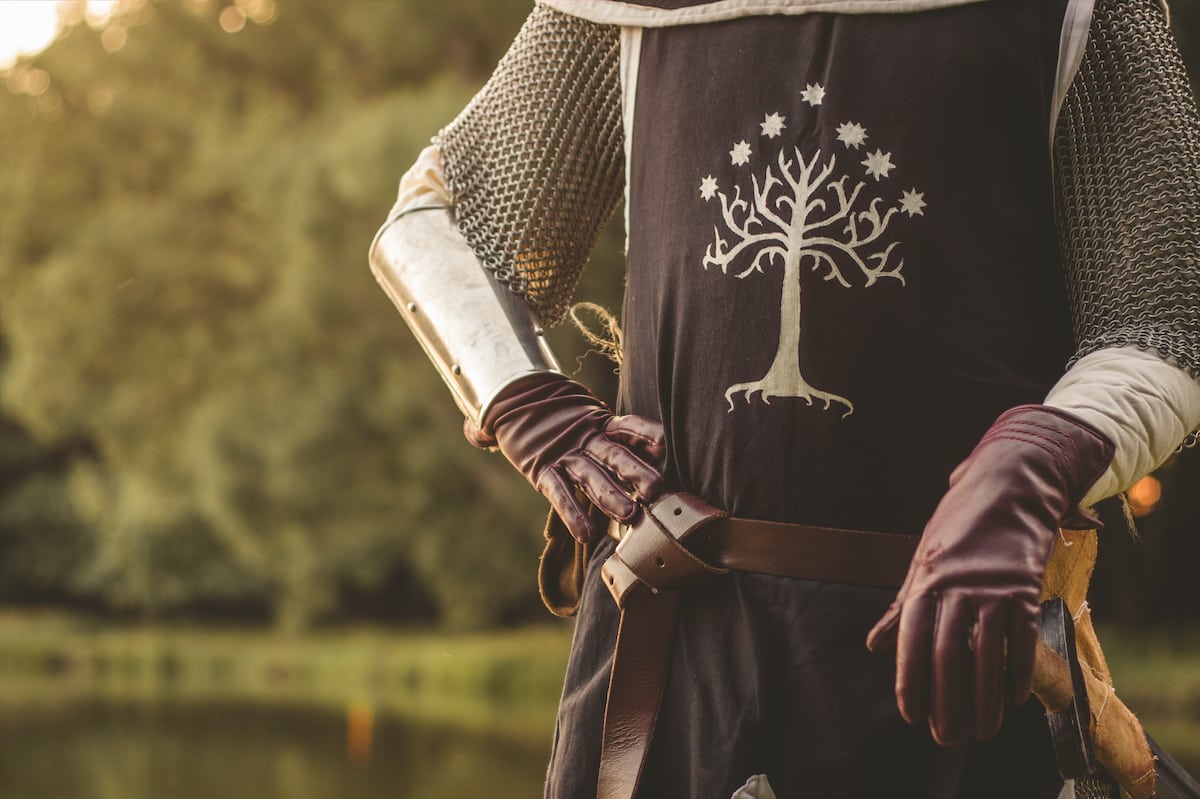 Gloves
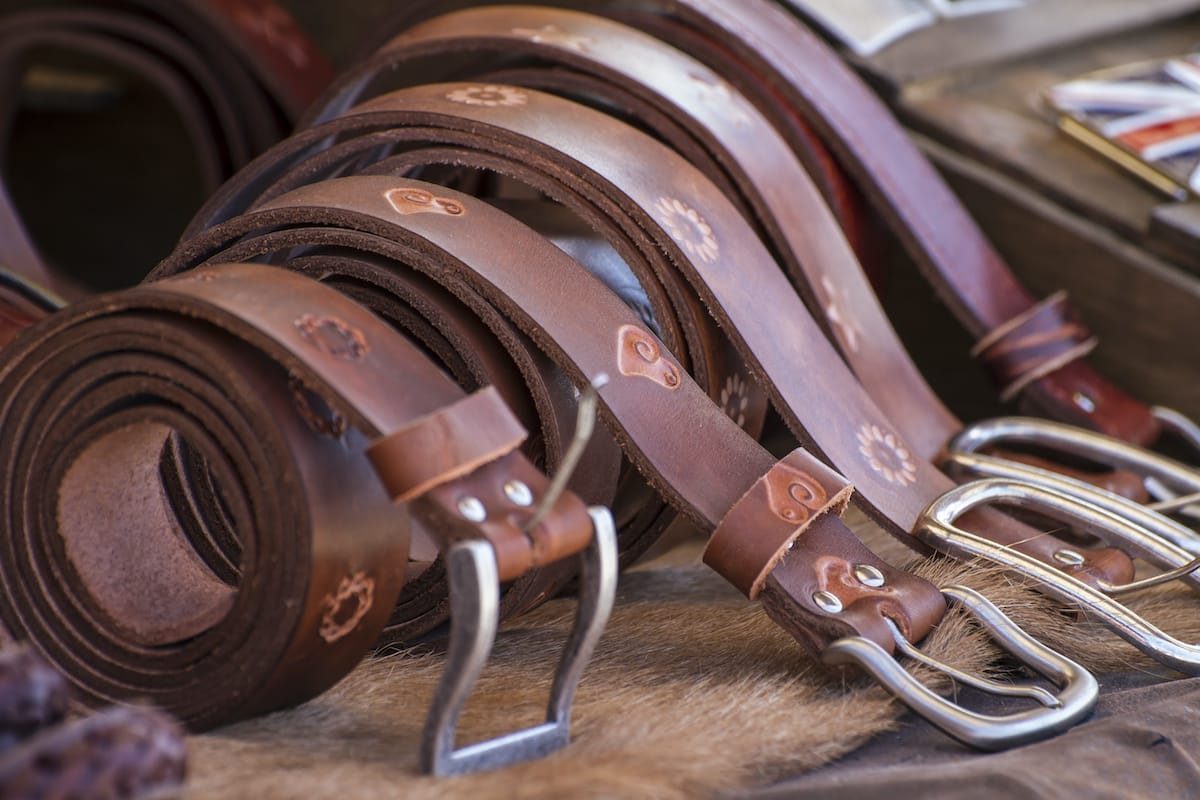 Belts
Belts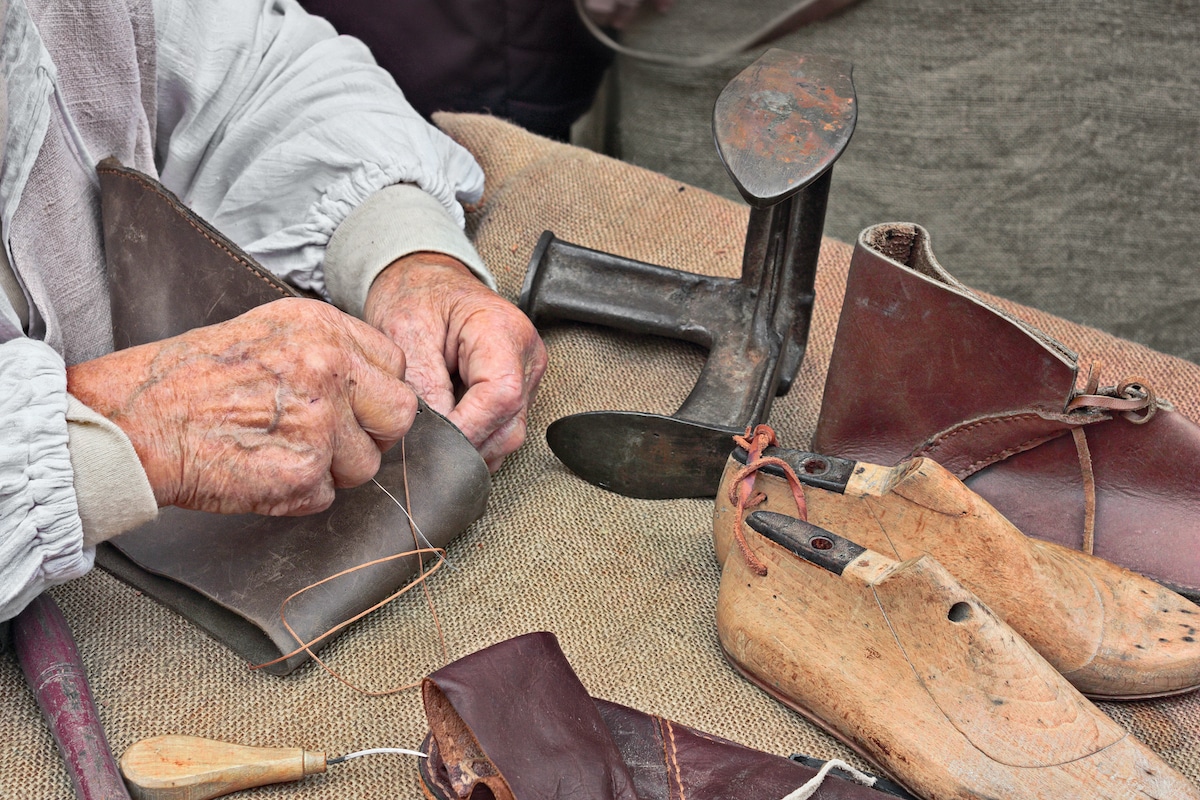 Shoes
Shoes Rings
Rings Necklaces & Pendants
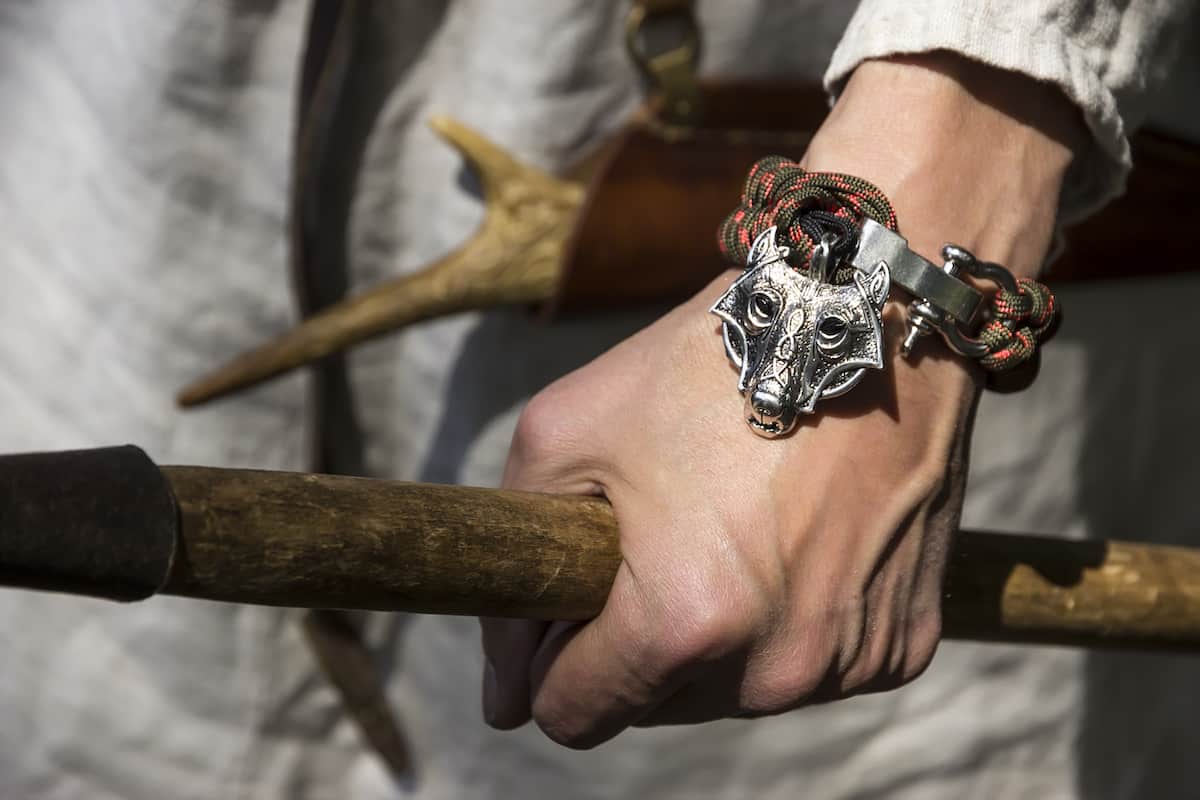 Bracelets
The ancient craft of bladesmithing is far from a lost art – it’s undergoing a huge renaissance (no pun intended). Now, there are blacksmiths and bladesmiths in every major city in the world, with many working to produce fine knives and sword blades for collectors, survivalists and Medieval enthusiasts. If you have a read of our guide on how to become a bladesmith, you can learn about the routes into blacksmithing and bladesmithing – from simple taster days, to artisan blacksmith college degrees! But next – you’ll need to learn about the essential bladesmithing tools required to start work.
Here, we’ll run through the basic equipment you need to get set up as a blacksmith, and begin your journey toward making blades.

King of the Trades
There is an old tale about King Alfred, who invites all of the craftsmen in his kingdom to a feast – and he asks them what they each do. The carpenter tells him of the beautiful furniture and cabinetry that he makes. The woodcutter tells him of his knowledge of the trees and his masterful felling techniques. The tailor tells him of the finest cloth and garment-making processes. The blacksmith tells him of his forge craft, the horses he shoes, and the blade he makes. Then King Alfred asks them, who makes your tools? The carpenter says the blacksmith made his chisels and hammers. The woodcutter says the blacksmith made his axe and saws. The tailor says the blacksmith made his shears and needles. The blacksmith, however, says, I make my own tools. For this reason, the King Alfred crowns the blacksmith as ‘king of the trades’, for he is the only craftsman who makes his own tools.

This is obviously a fabricated folk tale, made up by blacksmiths to feel a bit superior to the other crafts – but it contains an important truth. A great way into the craft is by making your own bladesmithing tools. I’ve been teaching myself blacksmithing for the past few months, and starting from cheap bars of mild steel from my local steel shop (plus some scavenged pieces of high-carbon steel like some worn-out tools and some car suspension springs someone was getting rid of), I’ve made myself most of the basic kit you’ll read about here. It’s been incredibly instructive, working from first principles, to learning the simple techniques required for each tool, taking my time to redo them if I wasn’t happy with my first attempt, and moving on to other projects, then circling back around to retry.
That said, if you want to get started quickly and easily, there’s absolutely no shame in buying bladesmithing tools, especially if you’re a novice and you want good-quality equipment from the get-go. Many blacksmiths make their living from making high-quality artisan tools (like the blacksmith in the story) – keep them in work!
Essential Bladesmithing Tools
1. The Forge
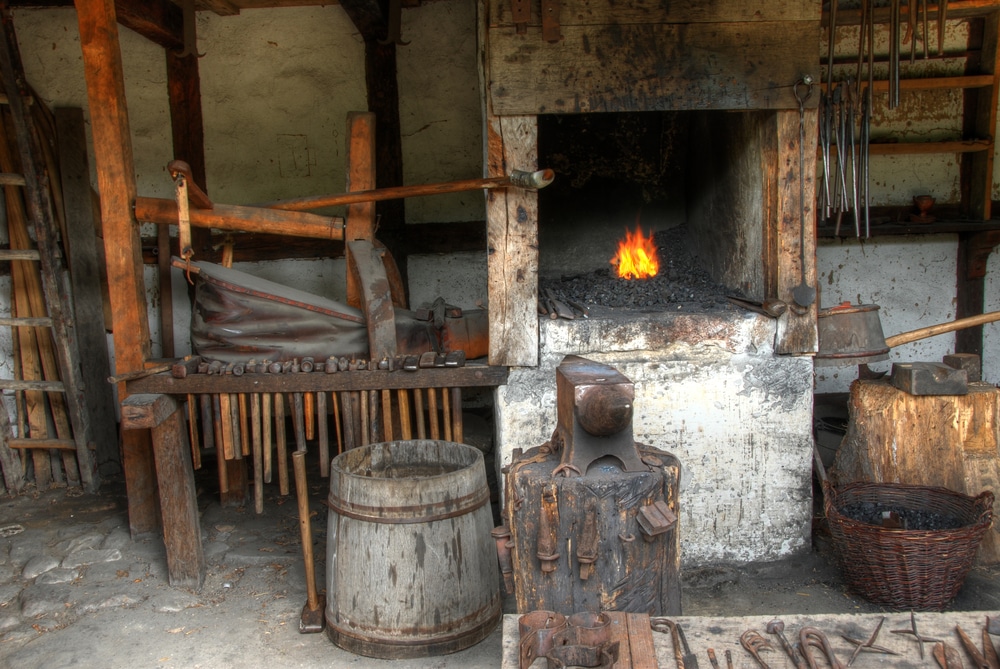
The basic principles of blacksmithing is the application of heat to metal in order to make it pliable with tools. So the most important bit is a way to impart heat! If you can recall your elementary science education, fire needs three things: fuel, oxygen and heat. There are a few different types of forge, which each have their own characteristics, pros and cons. The earliest forges were known as ‘pit forges’, made by digging a simple pit in the ground, filling it with charcoal, and feeding it with oxygen from the side with two animal-skin bellows (or even just a pair of reeds for apprentices to blow through). Viking forges are theorized to have been small portable wooden boxes lined to clay, and fed with twin-bellows. Later Medieval forges evolved into large stone or brick hearths, using coal as a fuel to achieve much higher temperatures and double-acting bellows to provide a constant blast of air from a single pump. The 20th century saw the widespread introduction of small-scale gas forges, as well as the invention of electrical induction forges.
So which is the best type for you? There are a myriad different things to consider, but this might give you some pointers.
Coal Forges
I’ll admit to being a shameless sop for the history and romance of a coal-fired forge. The principle is largely unchanged from the Iron Age: a bowl or bowl-shaped hearth from a heat resistant material, filled with coal, coke or charcoal, and fed with a constant supply of air. Historic forges (like my one!) used bellows – but modern ones are usually equipped with a hand-crank or electric blower (an old vacuum cleaner or a leaf blower works perfectly). Coal forges are very simple and easy to make, and it remains cheap and readily available in a lot of the world – but they can require careful management to get proper temperatures as a beginner, and clinkers (agglomerated masses of impurities) need to be cleaned out regularly.
Pros:
- Simple and cheap to build
- Relatively safe
Cons:
- Coal is getting harder to find
- Slow to light
- Trickier to manage
- Clinker
Gas forges
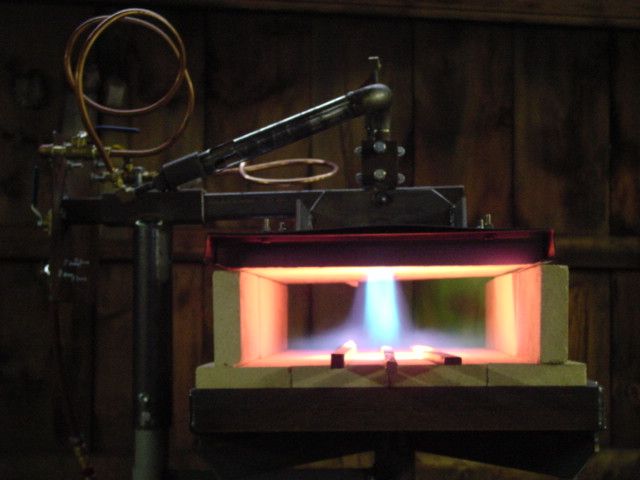
Gas-powered forges usually use one or more propane nozzles to heat up a metal enclosure lined with firebricks or refractory cement. Nowadays, they’re arguably the most accessible forge type – you can order a very cheap single-burner gas forge from Amazon and reach forging temperatures for less than $200. That said, unless you’re on the most restricted budget, it’s almost certainly worth investing in a higher-end one with more burners that you’ll ‘grow into’. As well, more expensive setups tend to come with better regulatory equipment to help you control your forge better, use less fuel, and be a better bladesmith.
Pros:
- Universally available
- Cheap to run
- No clinkering or carburization
Cons:
- Must be set up safely
- Kao wool lining has to be properly treated
- Can struggle to reach welding temperatures
Induction Forges
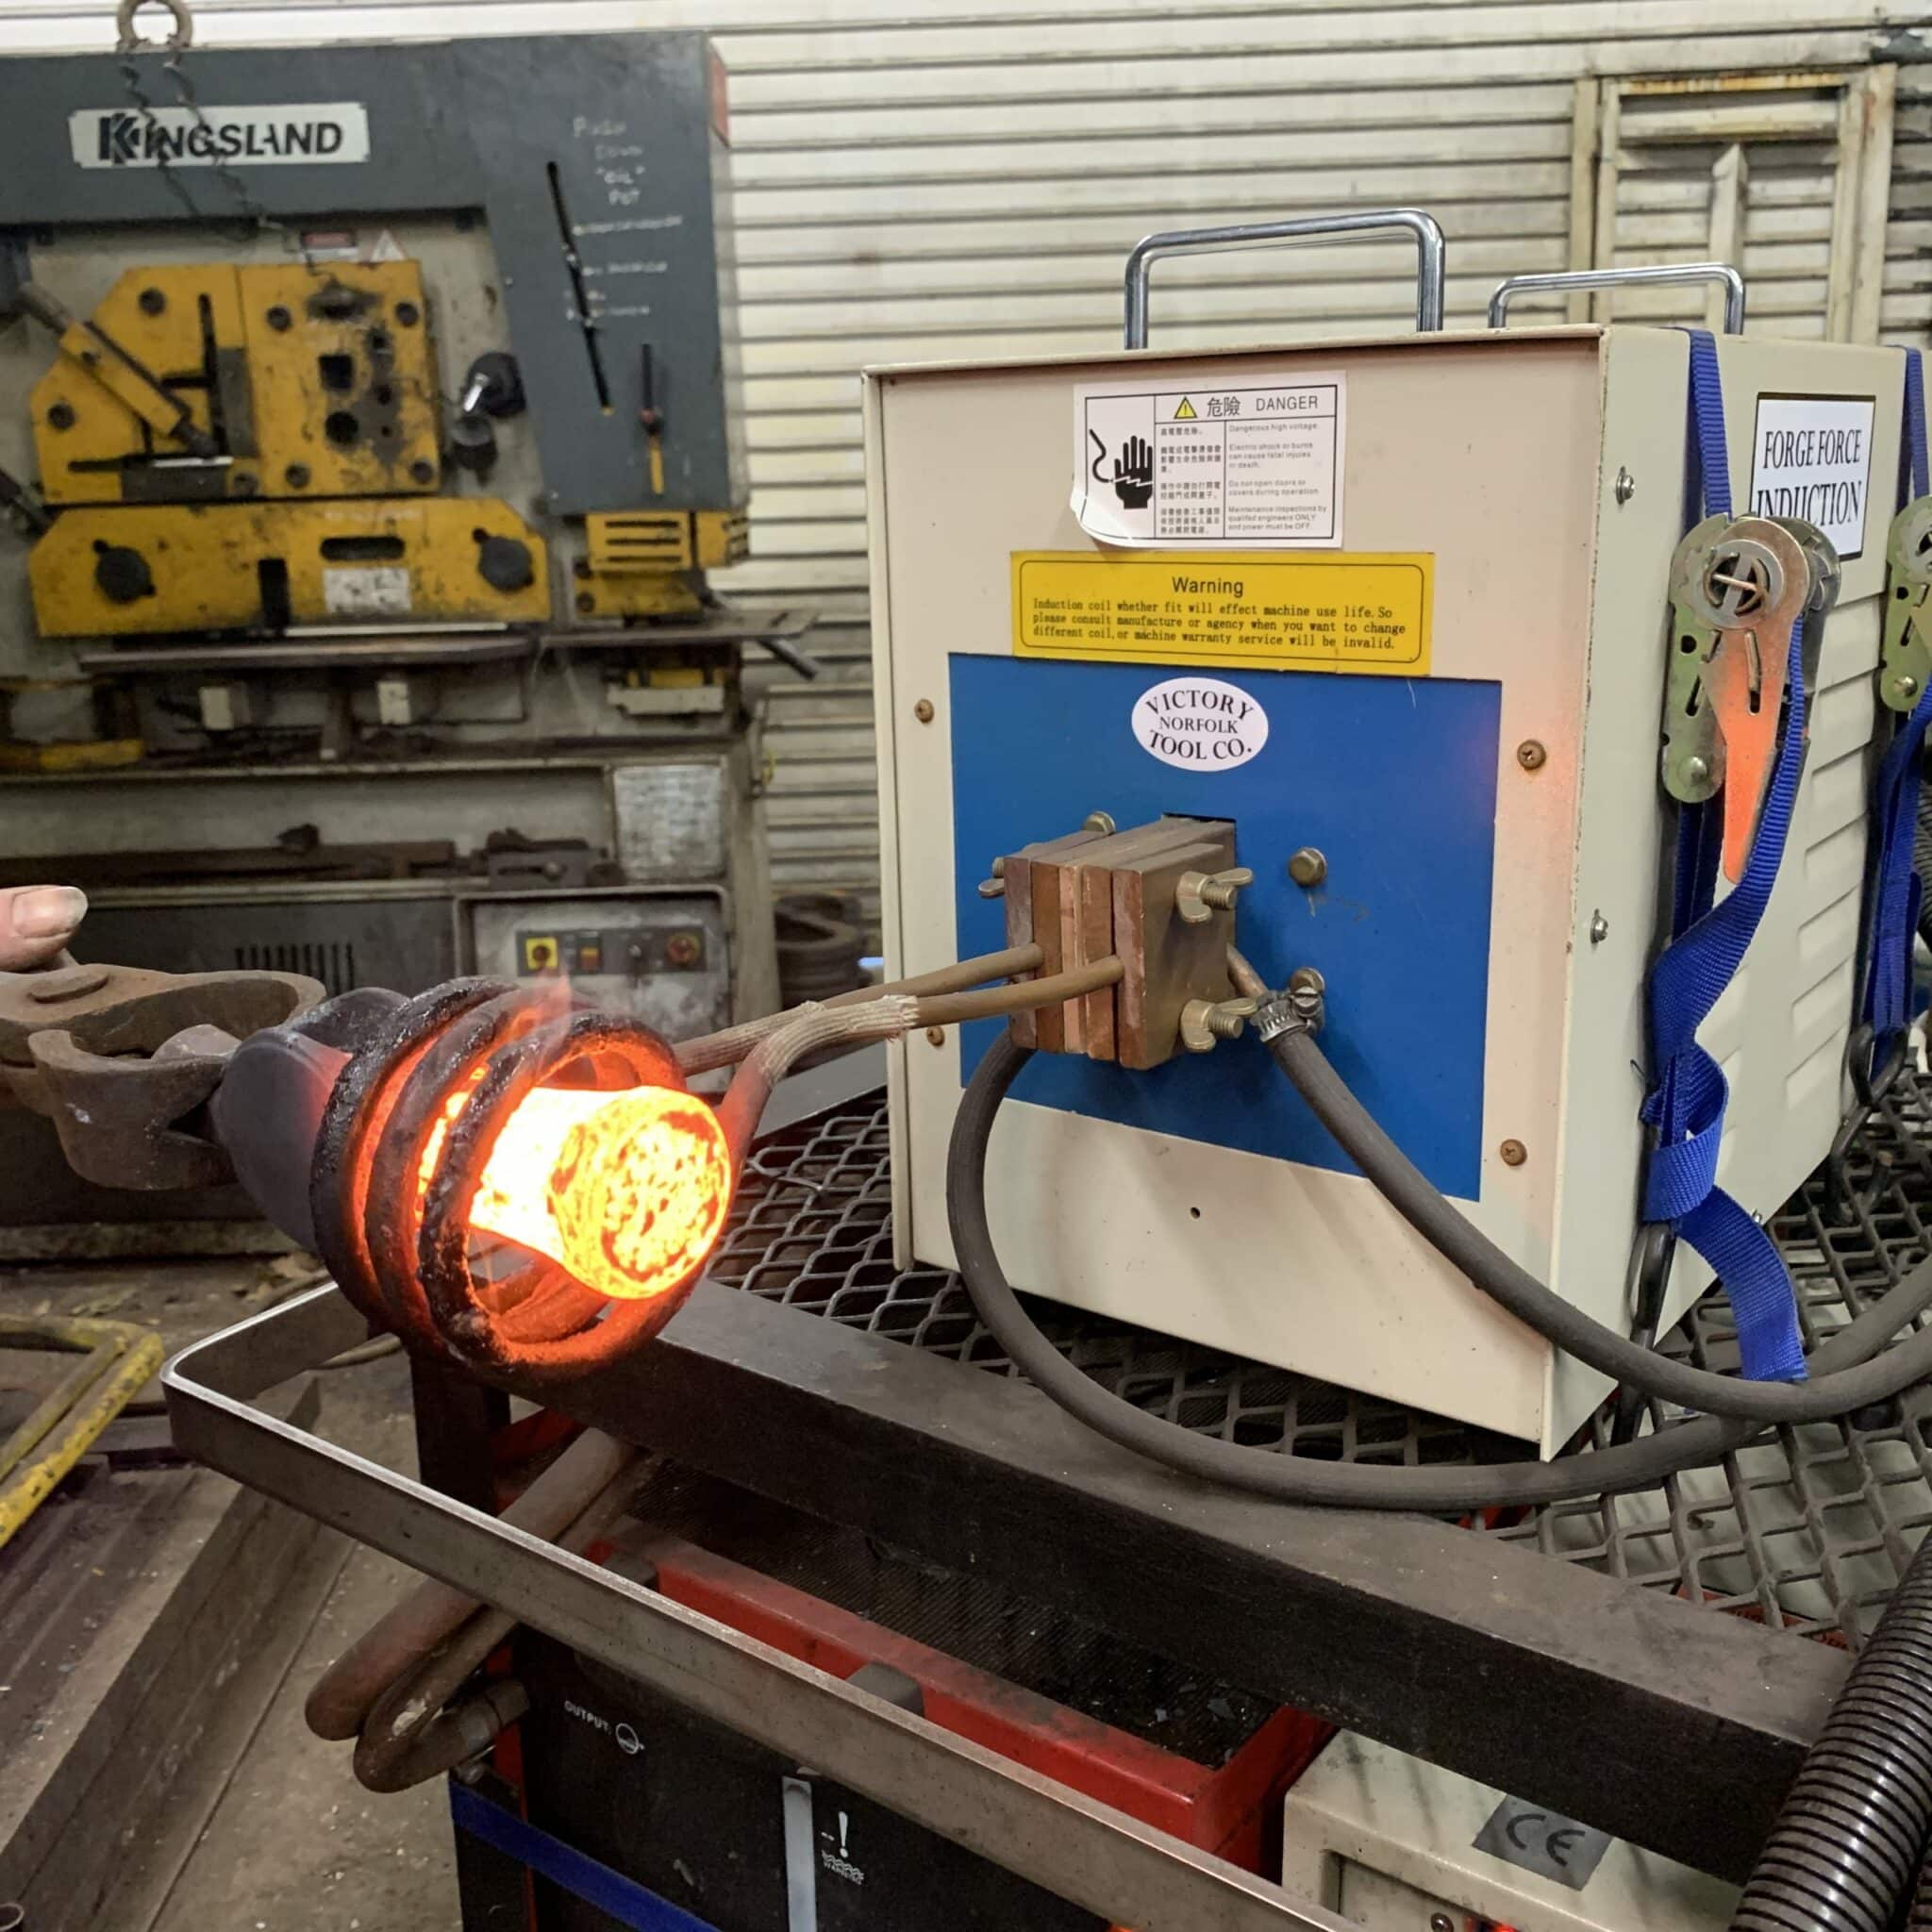
An induction forge is a relatively new type of bladesmithing tool. Effectively, it is a large transformer with a coil of conductive material attached to it. When a strong alternating current is passed through the conductive coil, any ferrous metals (eg. mild steel) placed inside the coil will heat up due to electromagnetic induction. In effect, this allows you to heat ironwork up quickly without even using an open flame. I’ve never worked with an induction forge , but they look like a fascinating thing to try!
Pros:
- Very clean
- No heat source so less likely to cause fires
- Can easily induce welding temperatures
Cons:
- Still relatively expensive
- Large voltages require safety precautions
- High power consumption
- Hot spot is much smaller so can be harder to achieve even heat
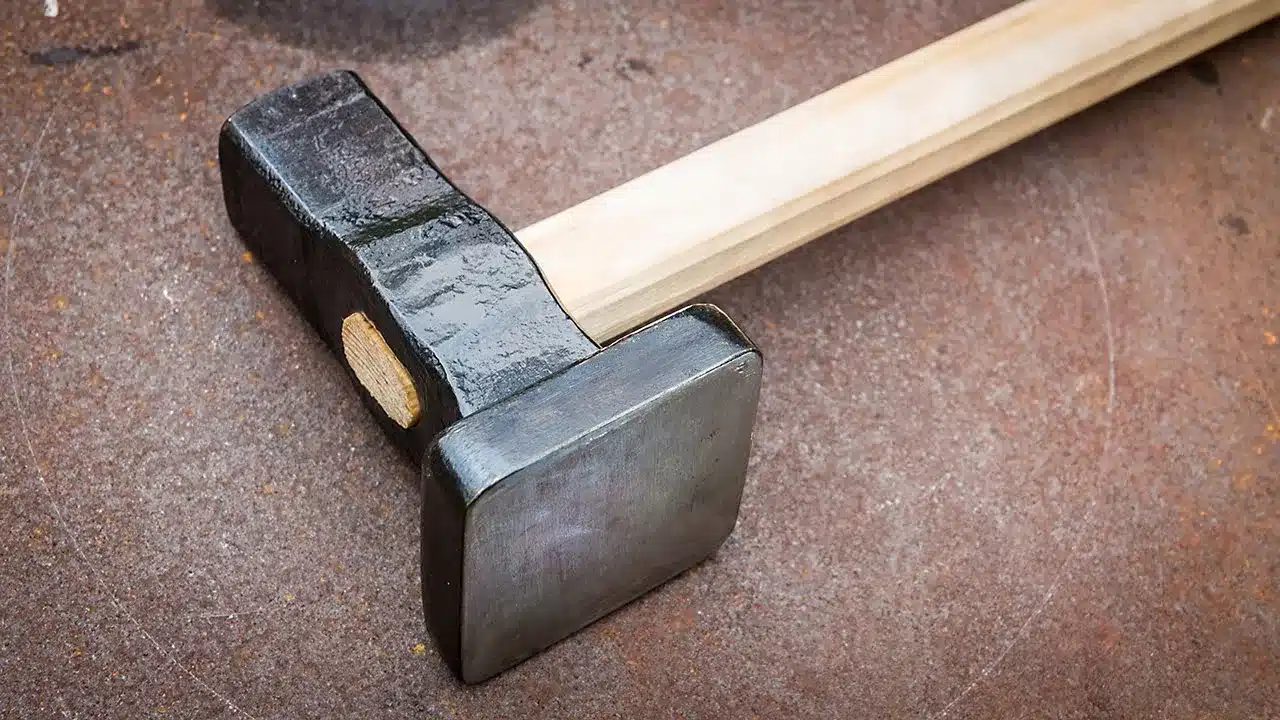
2. Stop – Hammer Time
Now that you’ve thought about what kind of forge you need, let’s look at the next most important bladesmithing tool: the blacksmith’s hammer.
Before I start getting hatemail from every metalworker in the world, the idea that there is just one hammer for every job is a heresy. Different jobs require different types of hammer: it’s no good using a two-handed sledge when you’re trying to forge a small penknife blade. Most blacksmiths have a rack of about a dozen hammers for various uses – and in historical times, there were dozens of specialized hammers for each metalworking trade, from planishers to tinsmiths. Here, we’ll go through some of the basic types of hammer.
Top tip: when I’m describing the types of movement which the different hammer cause the metal to do, imagine pressing the shape of the hammer into some nice soft clay or dough – where does the hammer shape cause it to move? In general, this a really great way of visualizing the moves you want to make when working metal – you can even plan it out beforehand with some actual modelling clay! After all, blacksmithing is merely the application of force to metal that you’ve made slightly goopy…
Ball Peen Hammer
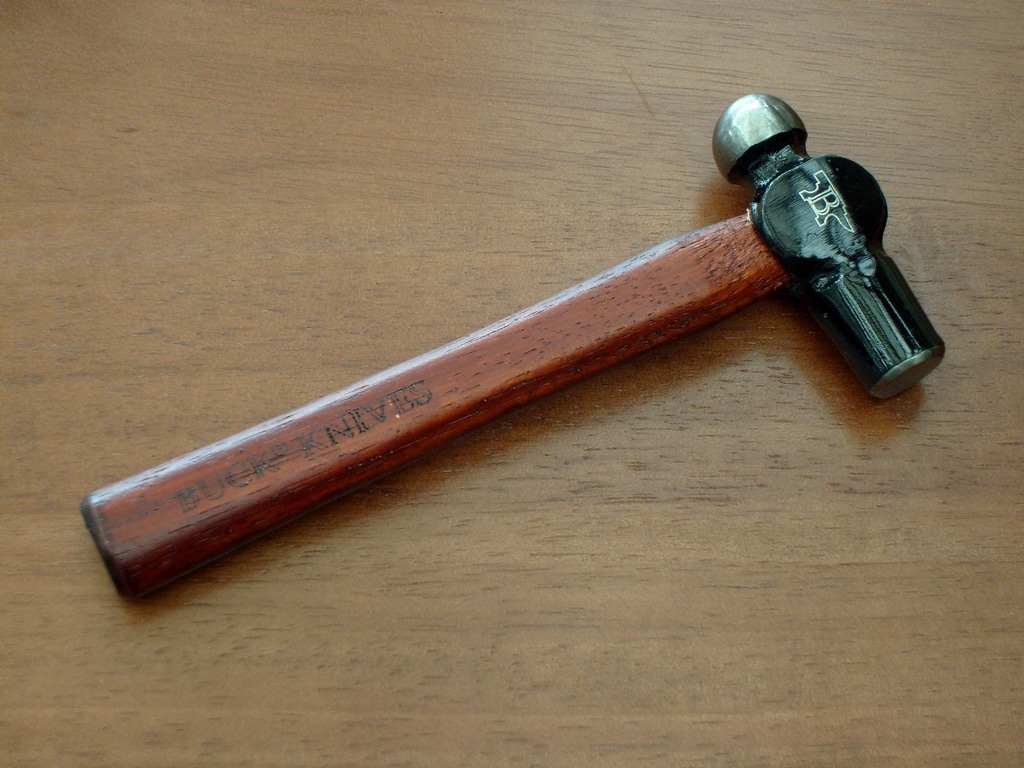
This is what many people think of when they imagine a ‘blacksmith’s hammer’, and it’s a very useful basic bladesmithing tool. The face of the hammer is cylindrical and flat, with dressed (slightly rounded) edges – and the peen (the ‘other end’ of the hammer head) is rounded in the shape of a ball. This gives the hammer two distinct and common uses. The ball-peen concentrates force at a point, and moves hot metal out and away from the strike in all directions equally – it’s great for moving metal a large amount and leaving a stippled surface behind. The flat face does a similar job – moving metal out in all directions equally, but it distributes the impact over a larger area, leaving a flat surface behind. The rounded edges of the face minimize leaving nicks and marks in the finished face. Thus, a blacksmith might spread a piece of metal using the ball peen, and finish it smoothly with the flat face.
Straight Peen Hammer
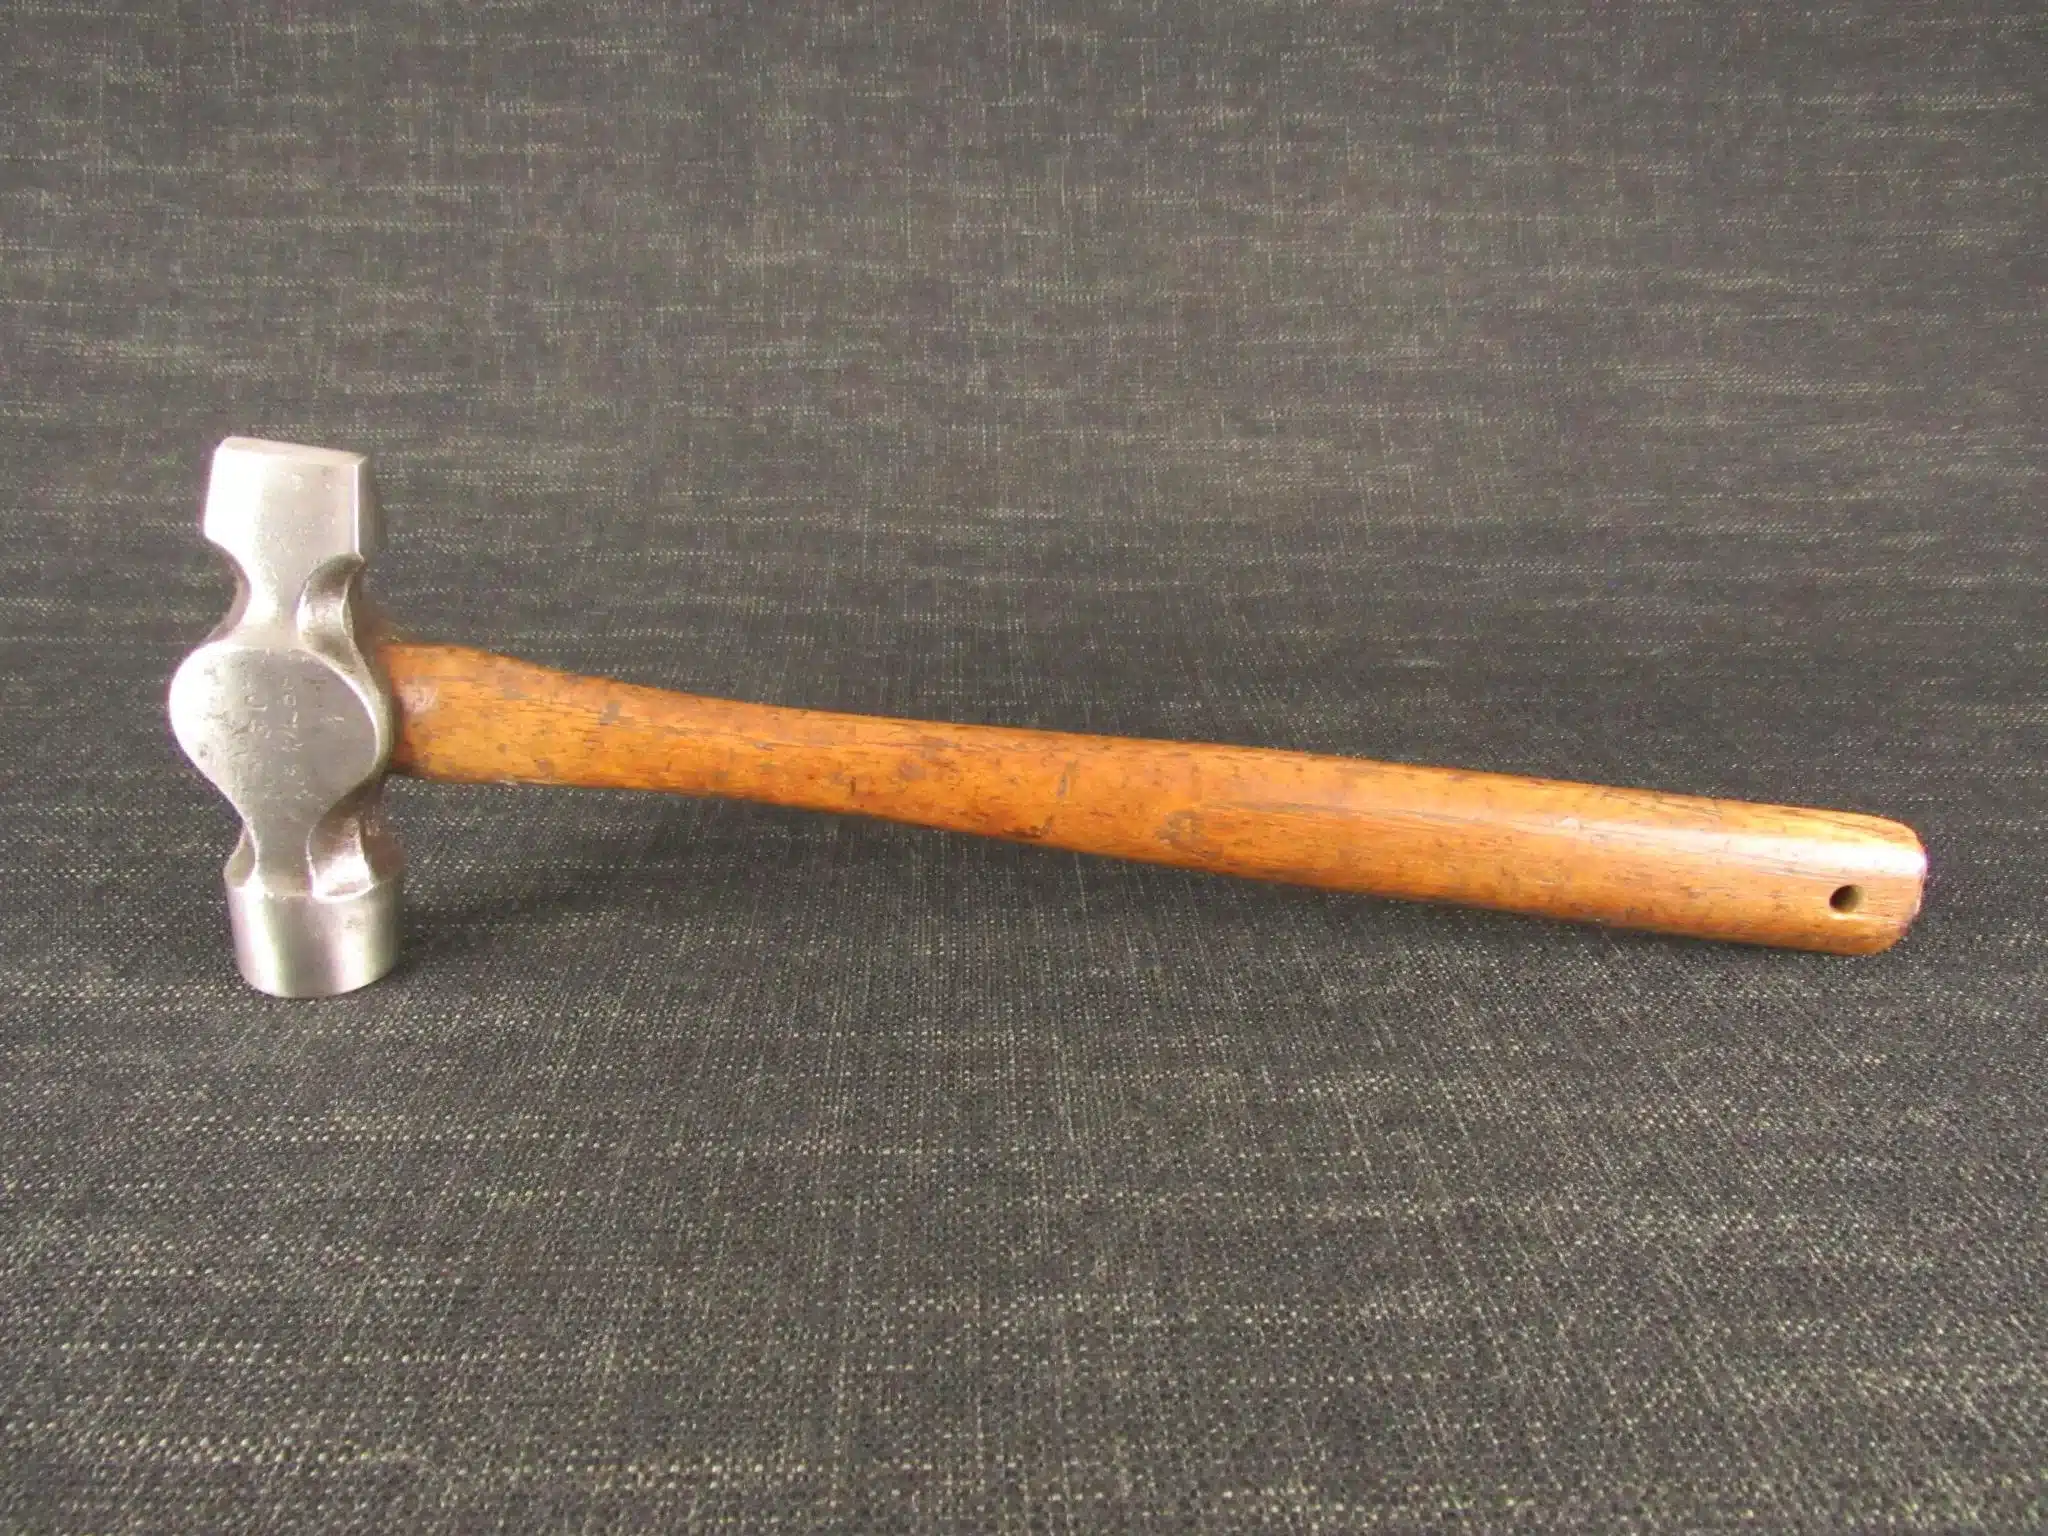
This type is similar to a ball peen hammer, but instead of a round ‘ball’, the reverse of the hammer is a vertical wedge-shape. This means that, instead of spreading the metal out in all directions equally, it predominantly spreads the metal at right angles to the strike. This makes the straight peen perfect for drawing out (making a metal object thinner and longer). Most one-handed blacksmithing hammers tend to be a between 1 and 2 ½ lbs – any heavier, and they become exhausting to use one-handed.
Cross Peen Hammer
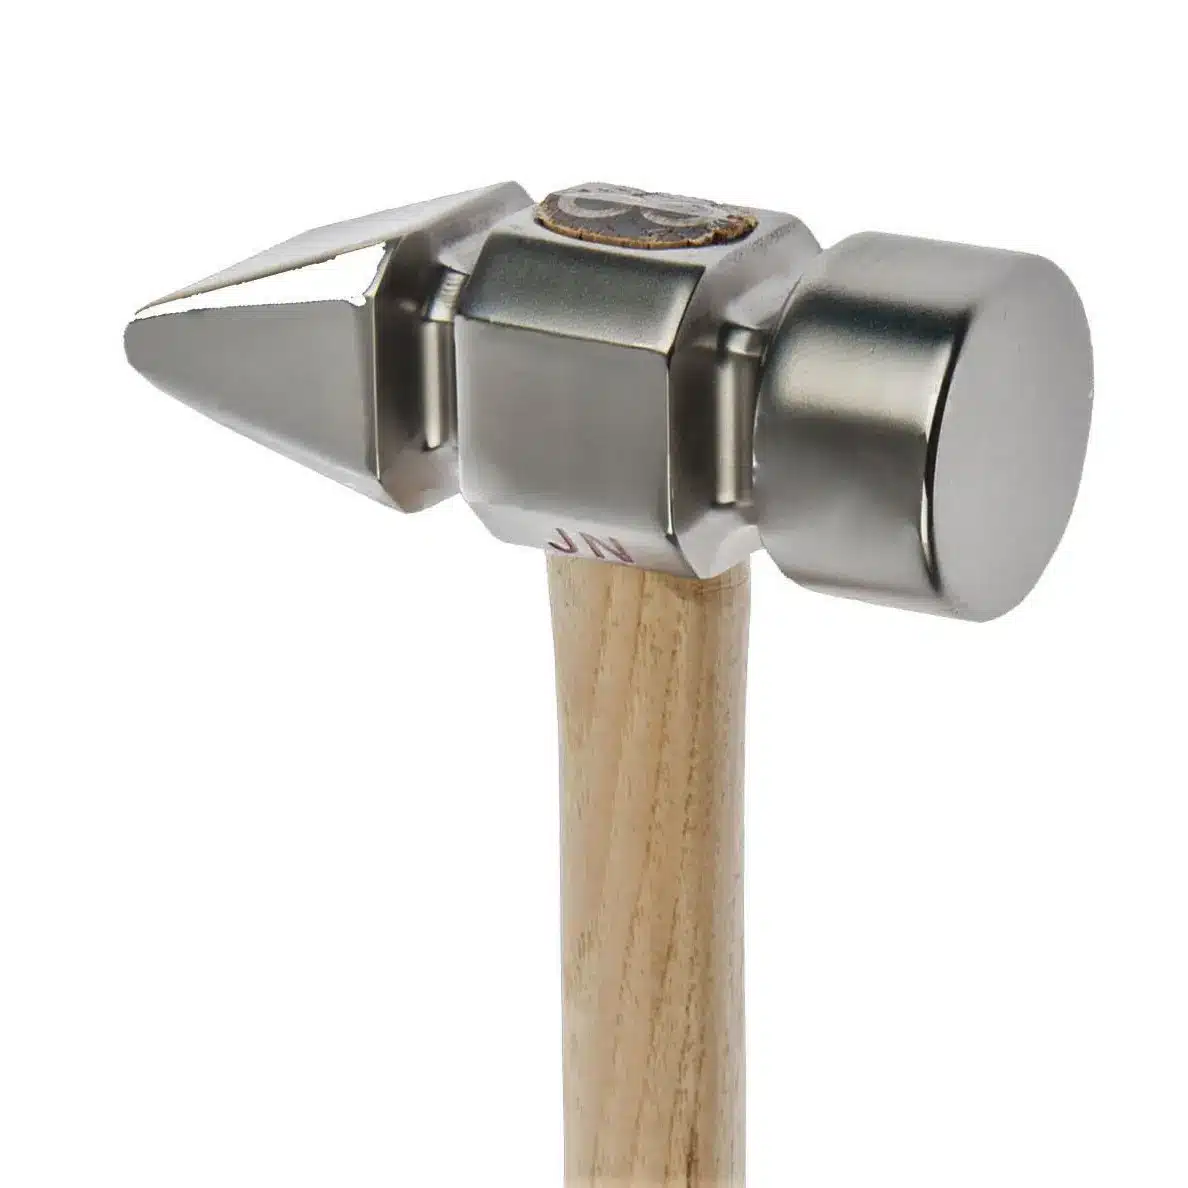
Like a straight peen hammer, the cross peen hammer also has a wedge-shaped reverse to the head – but instead of being vertical, the cross peen hammer’s wedge is oriented horizontally. This allows for a different hammering position when drawing out.
Diagonal Peen Hammer
You guessed it – the diagonal peen hammer has a wedge-shaped peen that is offset at 45 degrees. The idea is that both cross- and straight-peen hammers have an unnatural offset, requiring smiths to approach the work by over- or under-shooting the work: the diagonal peen hammer uses the natural hammering angle of a relaxed arm position. They’re usually available in right- or left-handed offsets – the choice between these three hammer types is largely dependent on personal preference,
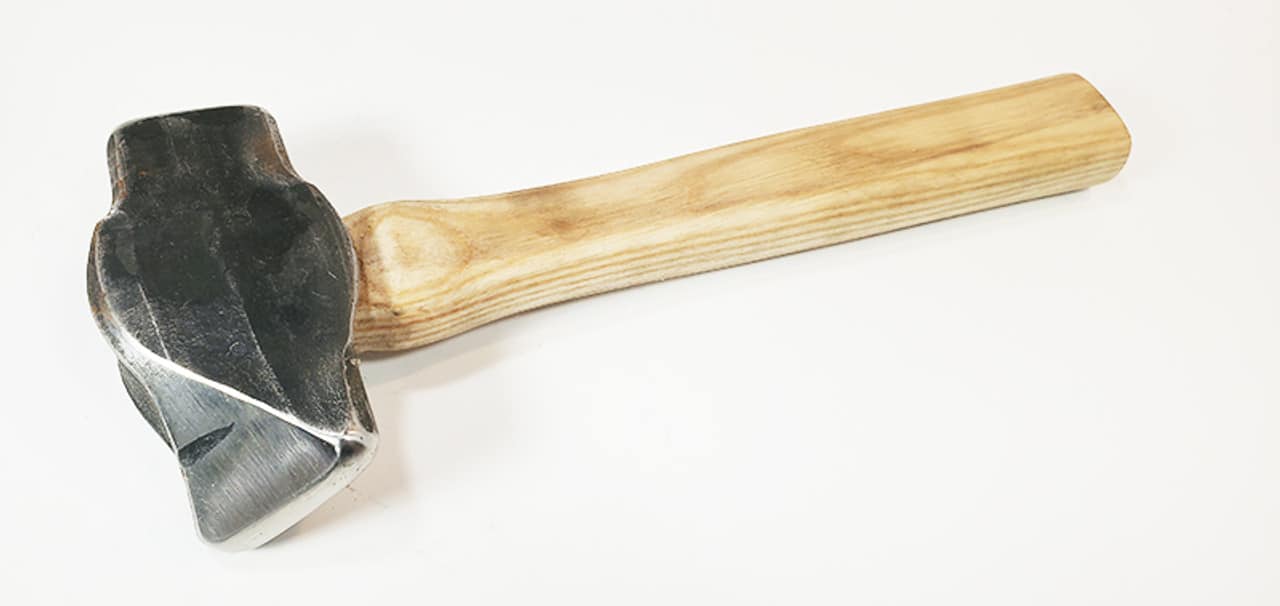
Flatter Hammer
Not strictly a hammer, the flatter hammer is a bladesmithing tool with a hammer face on one side, and a large, wide flat face on the other. It’s used for flattening out dents and creases to make a nice finish. The flatter is held in the non-dominant hand and placed in position, and then struck with a hammer in the main hand, spreading its force out smoothly. The face of a flatter must be kept free of blemishes, and so they are frequently re-dressed.
3. Kissing With Tongs
It’s all very well and good having some fancy hammers – but unless you can actually hold and manipulate hot metal effectively, you’re not going to be doing much blacksmithing. I would highly recommend at least learning how to make basic tongs as a rite of passage for a new blacksmith, as they include many basic techniques such as spreading, drawing out and punching. But you’re more than within your rights to get at least a few pairs to get you started. Like hammers, no one set of tongs is universal for all jobs, and so blacksmiths will often have a rack of these bladesmith tools to hand.
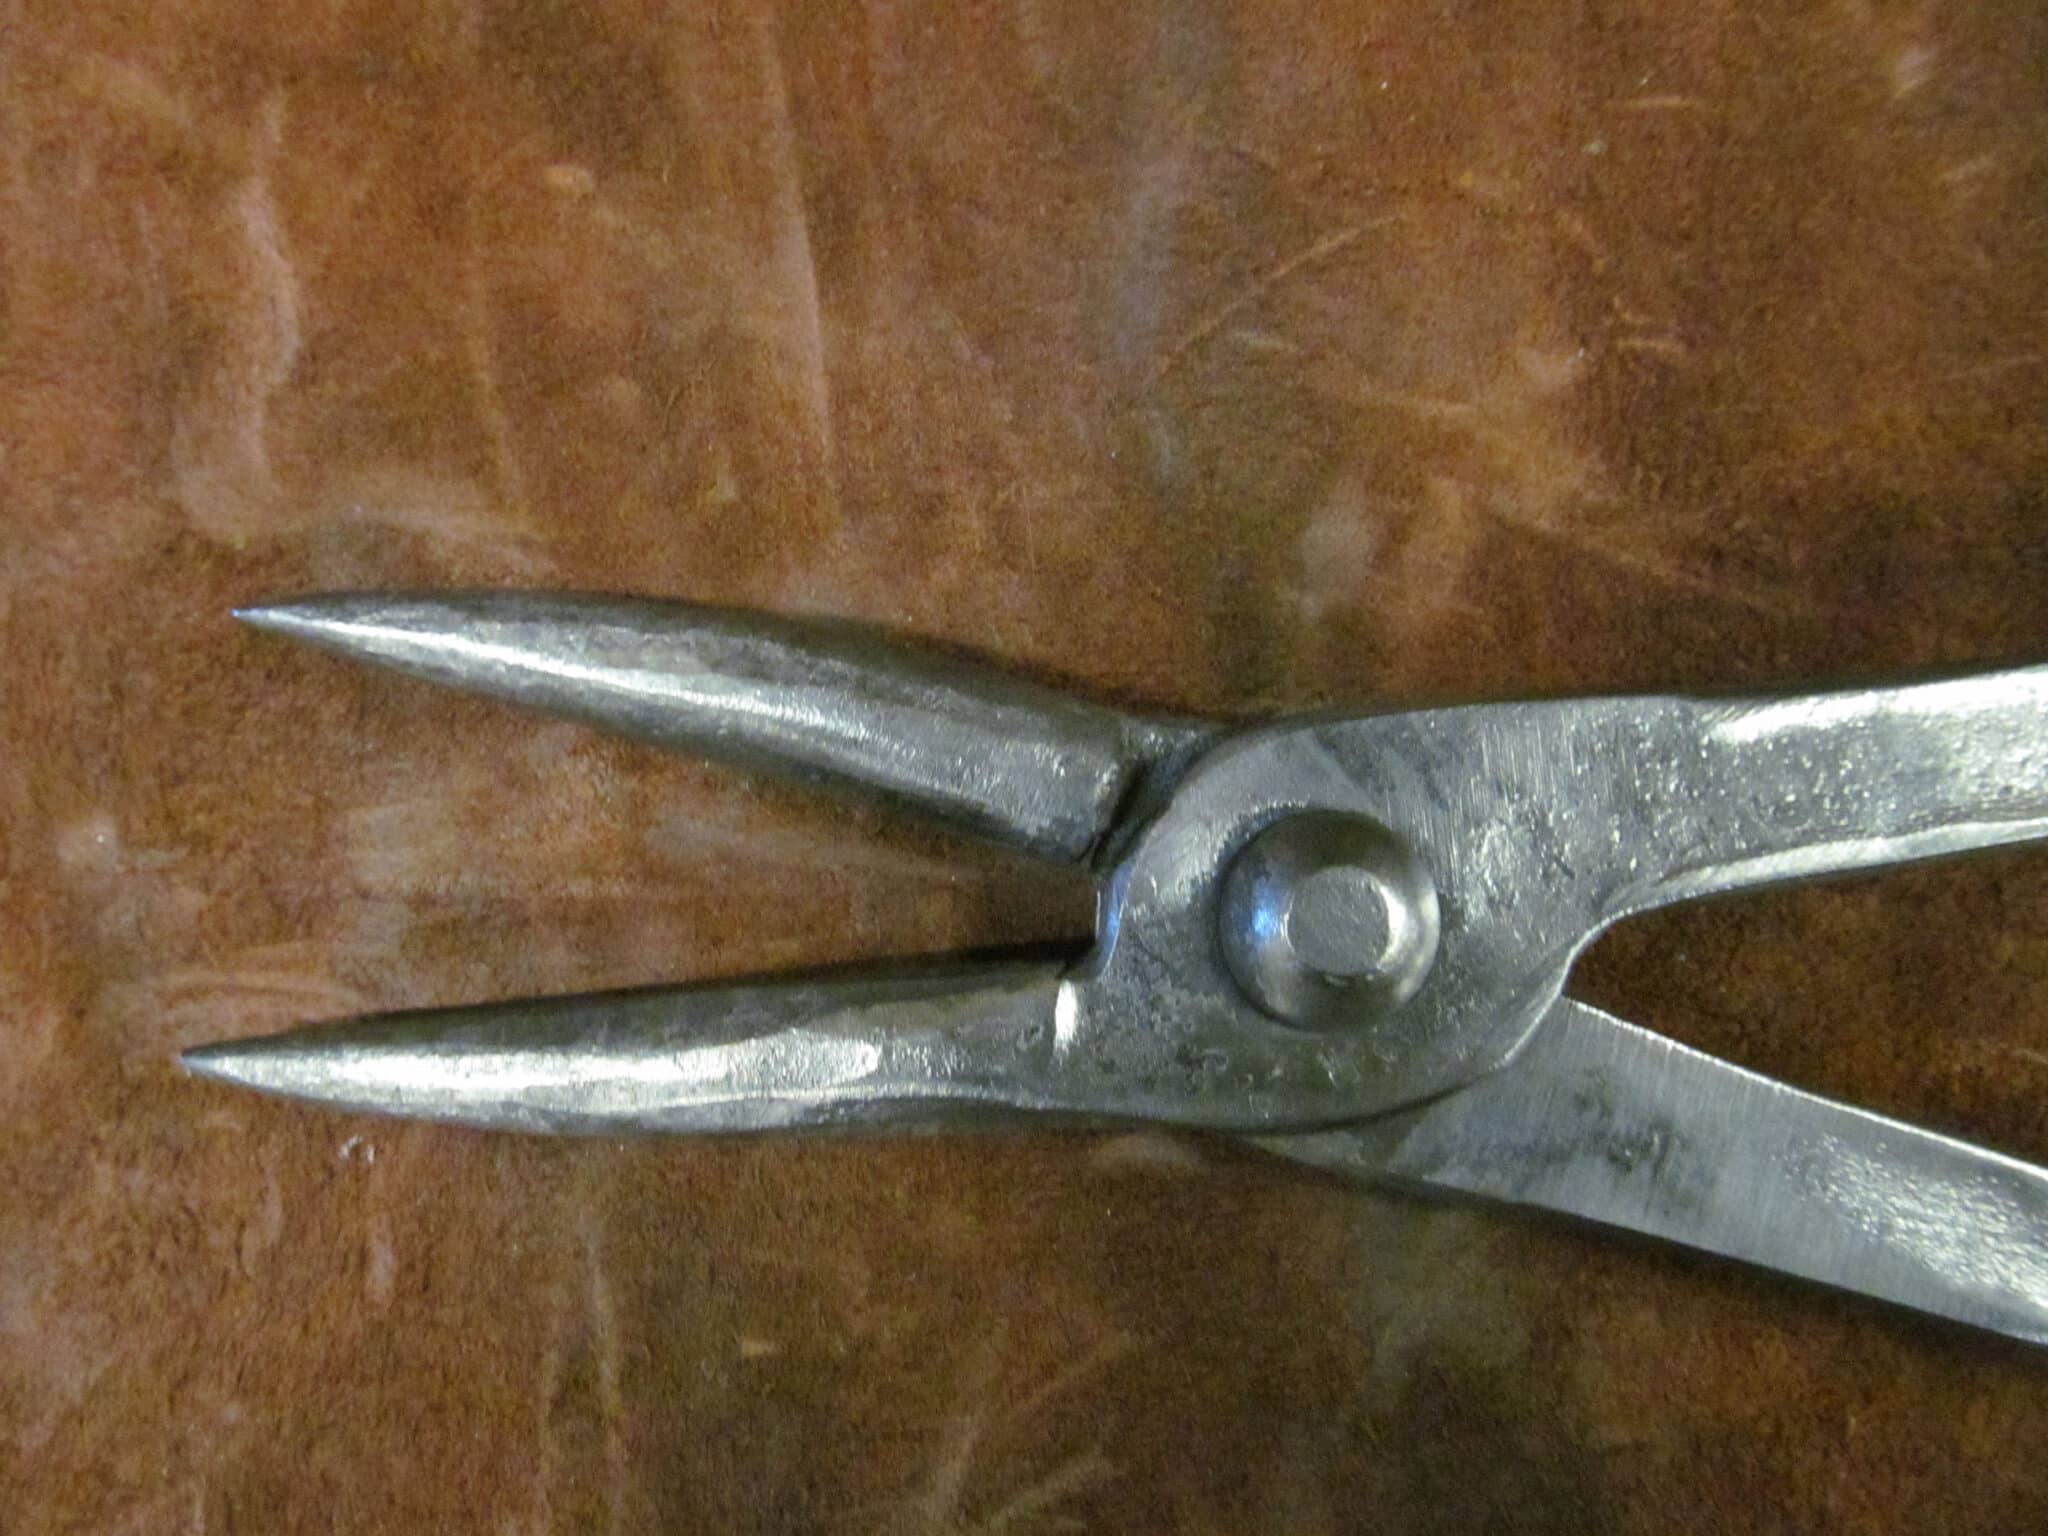
Flat Mouth Tongs
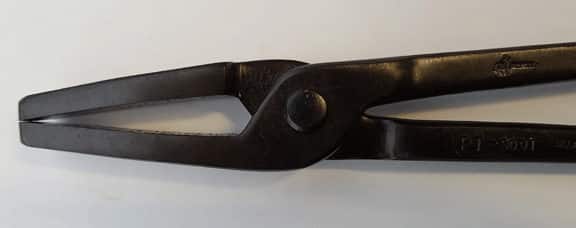
The simplest of tong types, the jaws of these tongs are simple oblong paddles that are good at handling most types of work. An absolute must for any collection of bladesmith tools.
Box Jaw Tongs
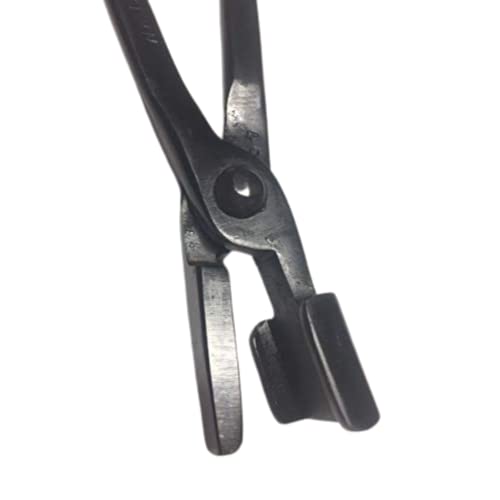
Box jaw tongs have a matched pair of jaws: one similar to a flat mouth, and one with a wide plate with upturned edges. This allows you to hold wide, flat stock securely – this is an essential bladesmith tool as it will allow you to handle knife blades as you’re making them.
V-Bit Tongs
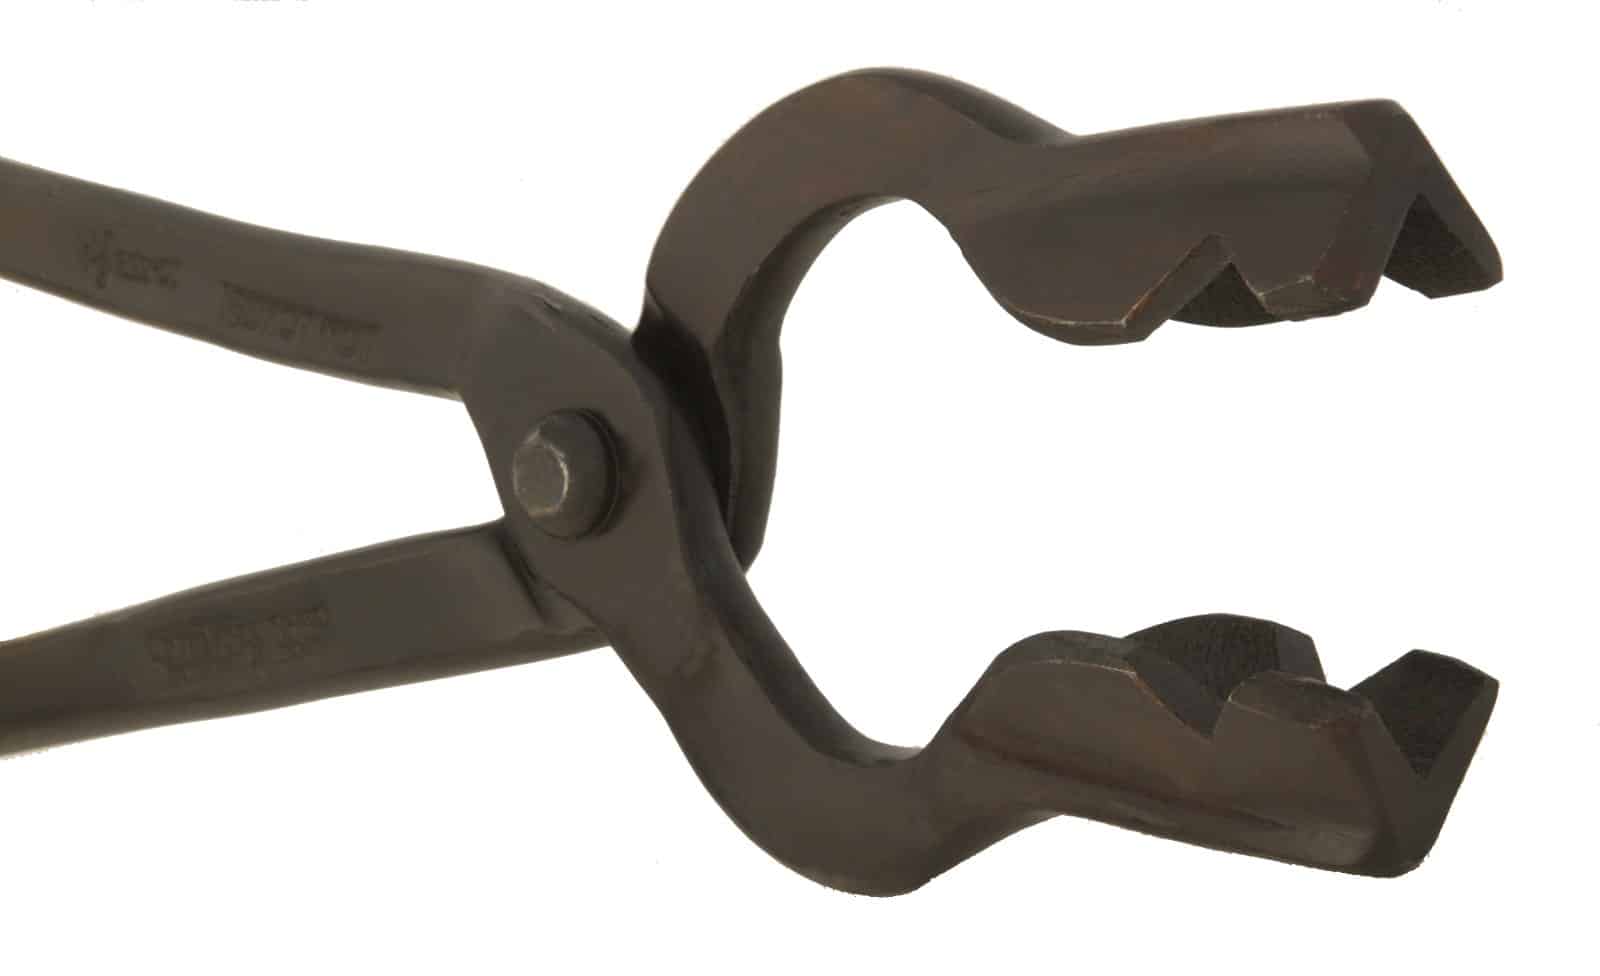
The jaws of a pair of V-bit tongs have been forged into a V-shape so they can firmly grip square bar. Extremely useful for almost all projects – but they tend to need to be closely aligned to the right size bar, otherwise they won’t grip properly. Looks like you’ll need several pairs!
Scrolling Tongs
Scrolling tongs are designed for use in making fine scrollwork: they have jaws that are conical in shape, which allows you to use them like a large pair of pliers with a great degree of control. Heavier parts of the scroll can be moved with the thick part close to the pivot; as the scroll gets smaller toward the end you can use the more delicate points.
4. The Best of the Rest
Now that we’ve covered the basics – something to get your steel hot, something to hit it with, and something to hold it with – finally we’ll go over a selection of other basic tools that you should consider which will allow you to make a wide variety of projects.
Punches and Drifts
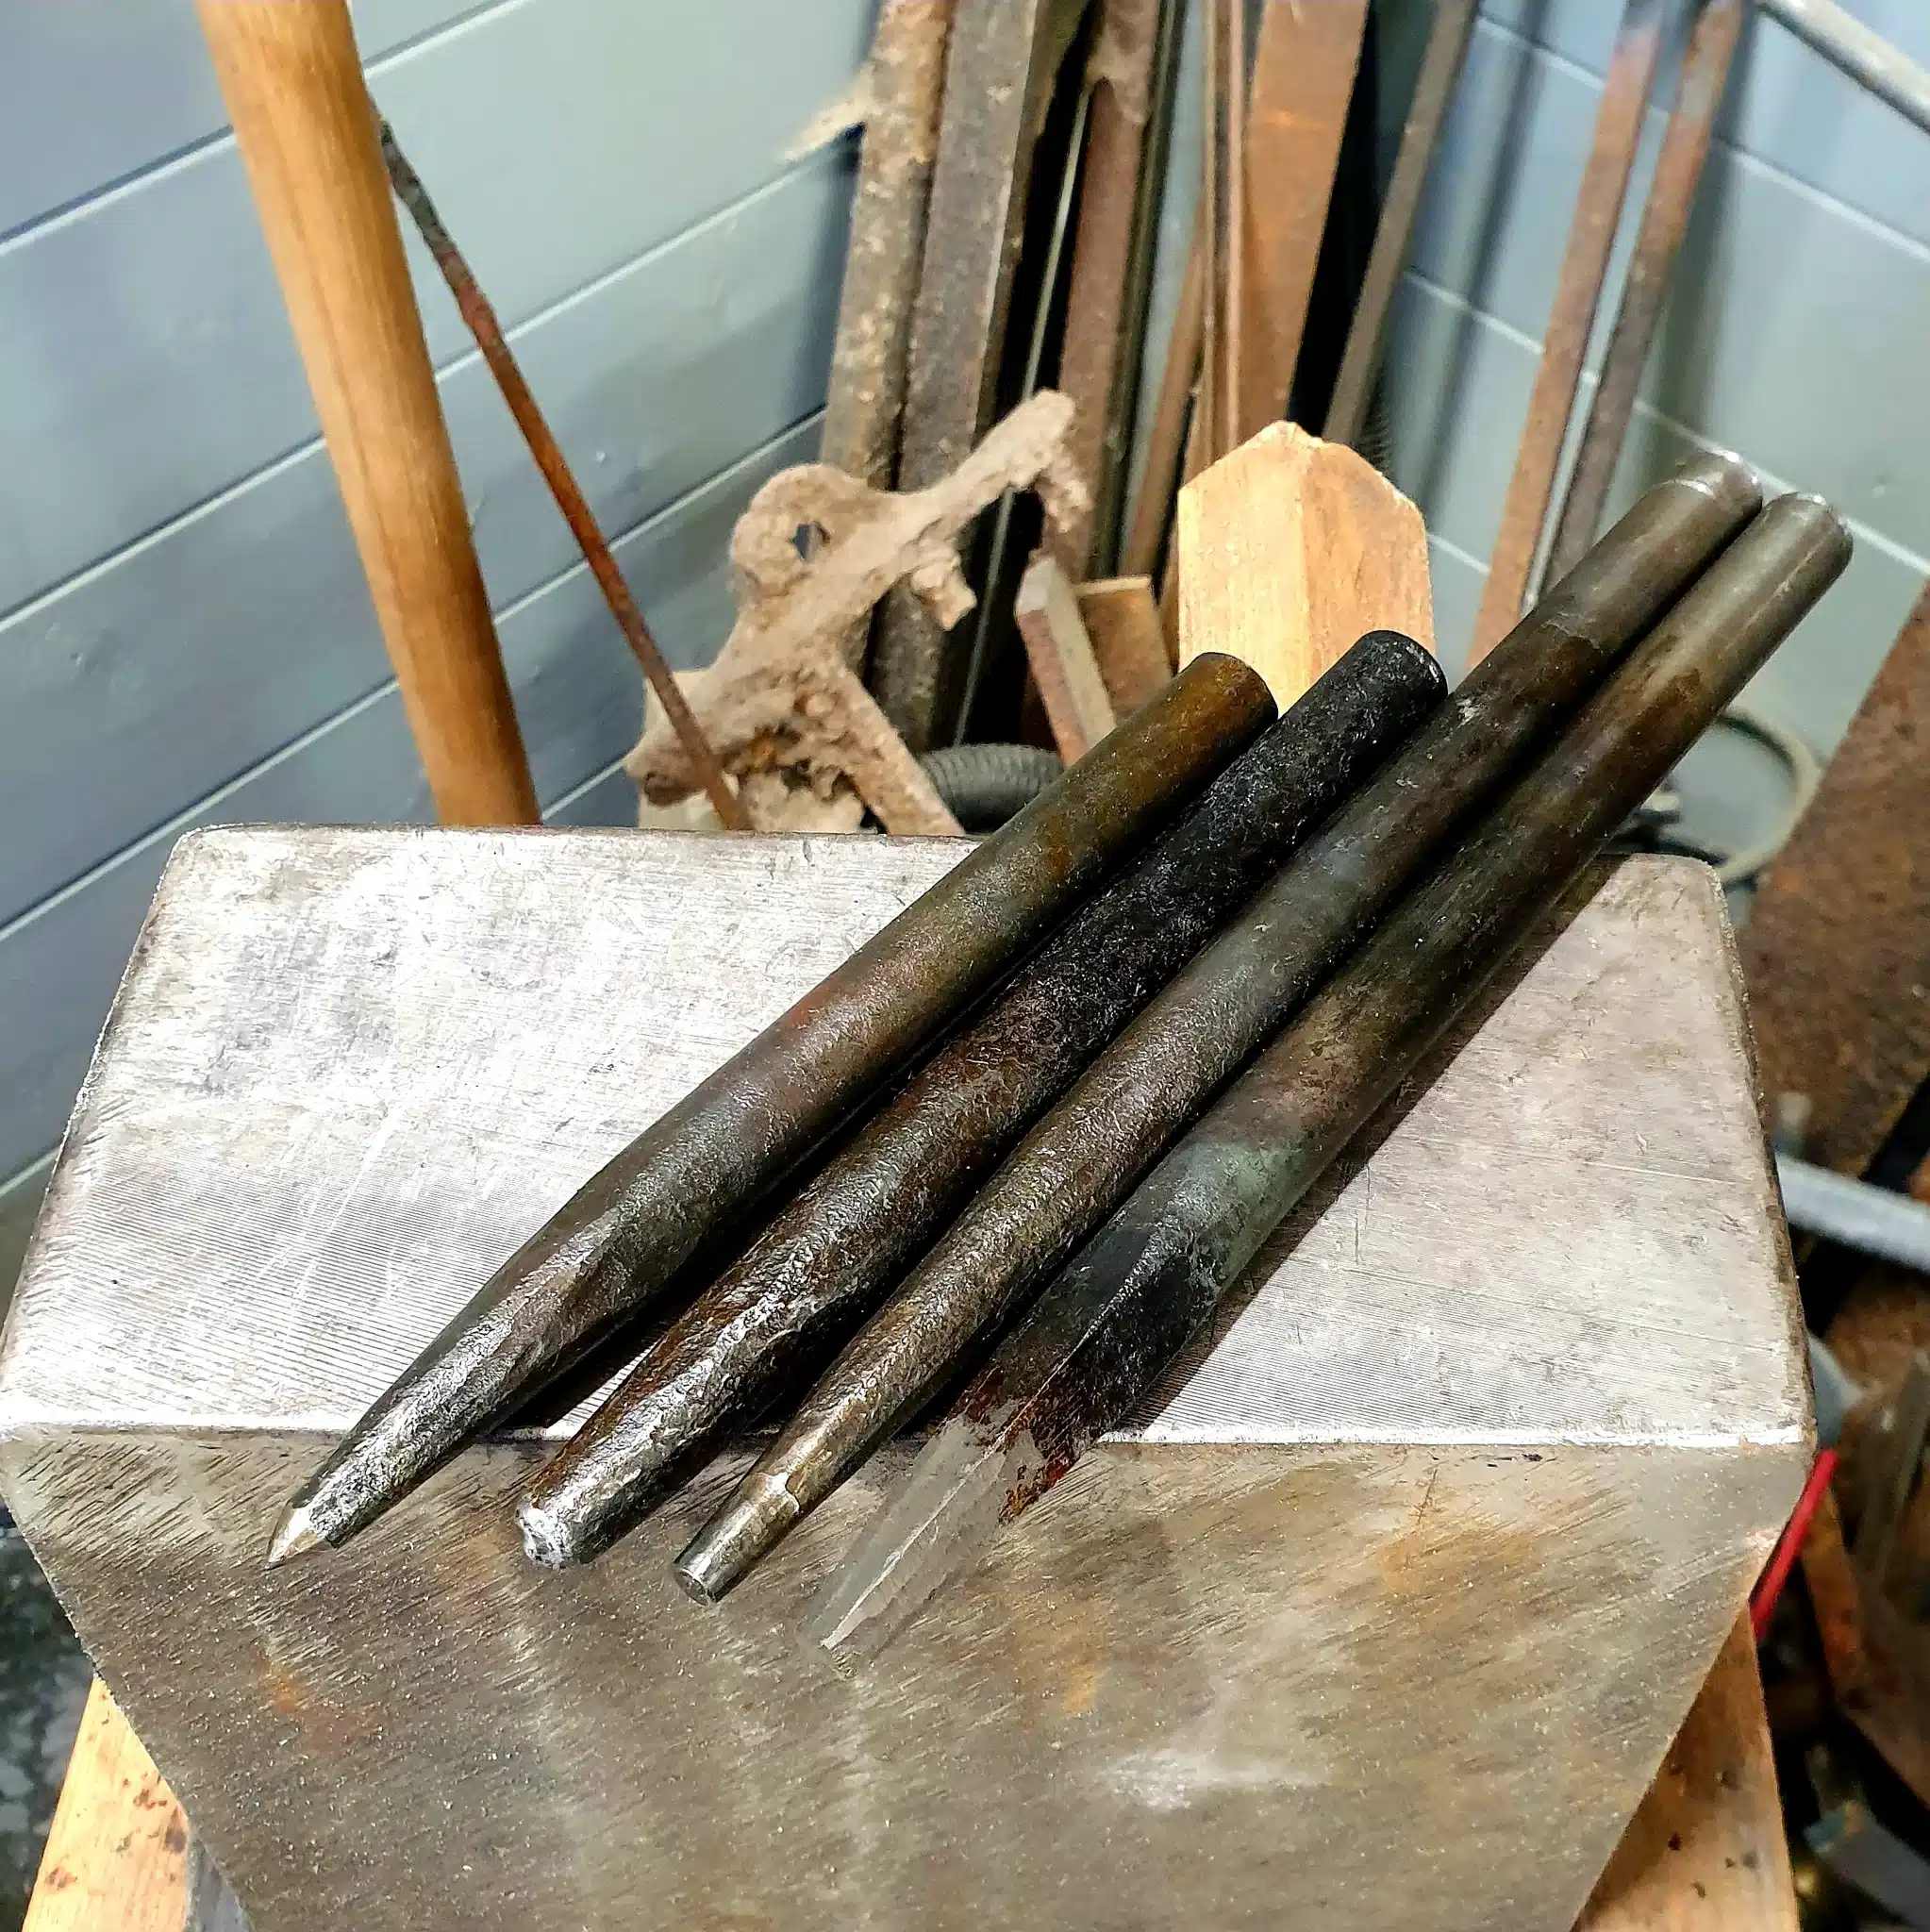
Effectively, a punch is simple a hardened piece of steel that you can force through a heated piece in order to pierce a hole. Punches can be of various diameters and shapes – round, square, octagonal and so on. Blacksmith’s punches are very commonly available, but they’re also very simple to make. I made mine from short lengths of suspension spring that I straightened out and cut using a hot cut (see below), then shaped into the right form, and then quenched and tempered them so that they would be hard but not brittle. A drift is a larger, blunter tool which you then use to widen a punched hole – for example, to make the hole for a hammer or axe shaft.
Hot Cut
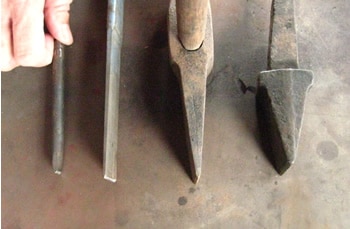
A hot cut, also known as a hot chisel, is an extremely useful bladesmithing tool. It’s effectively a chisel that you can use to cut hot metal. Hit softly it can be used to incise lines into hot steel, but hit hard it can be used to cut through it entirely. Like my punches, I made my hot chisel from a length of high-carbon steel suspension spring, quenched and tempered.
Electric Sander
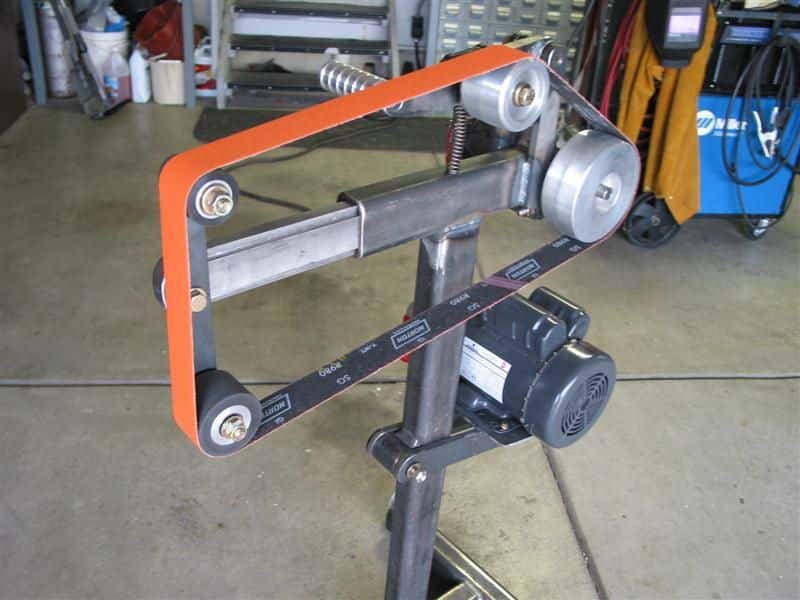
If you want to get bigtime into bladesmithing, then you’re going to spend a whole lot of time grinding your blades from a rough forged shape into a final polished knife. An electric sander is almost a must-have tool for this – it makes me shudder to think of the countless hours that medieval and early industrial workers must have spend grinding away at hand-driven grinding wheels or, heaven forfend, polishing armor by hand. You can get a cheap electric belt sander for less than $100, but good ones tend to go begging second-hand!
Post Vise
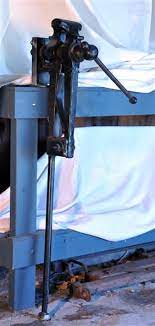
A blacksmith’s vise is an incredibly useful item that you might well consider investing in. They’ll come in incredibly handy for securely holding your work whilst you perform more advanced techniques, like twisting or upsetting. The best type of vise for bladesmiths is a post vise, so named for the ‘leg’ which transfers the force of hammer blows directly to the floor.
So – that’s merely the briefest insight into the bladesmith tools that you might want to consider when you’re starting out. None of this has to break the bank – Black Bear Forge has a video about making a whole blacksmithing setup for less than $500. There’s a whole lot more to be said on each of these topics – to keep an eye out for deeper dives on each individual aspect of bladesmithing. Until next time!


