
 Historical Swords
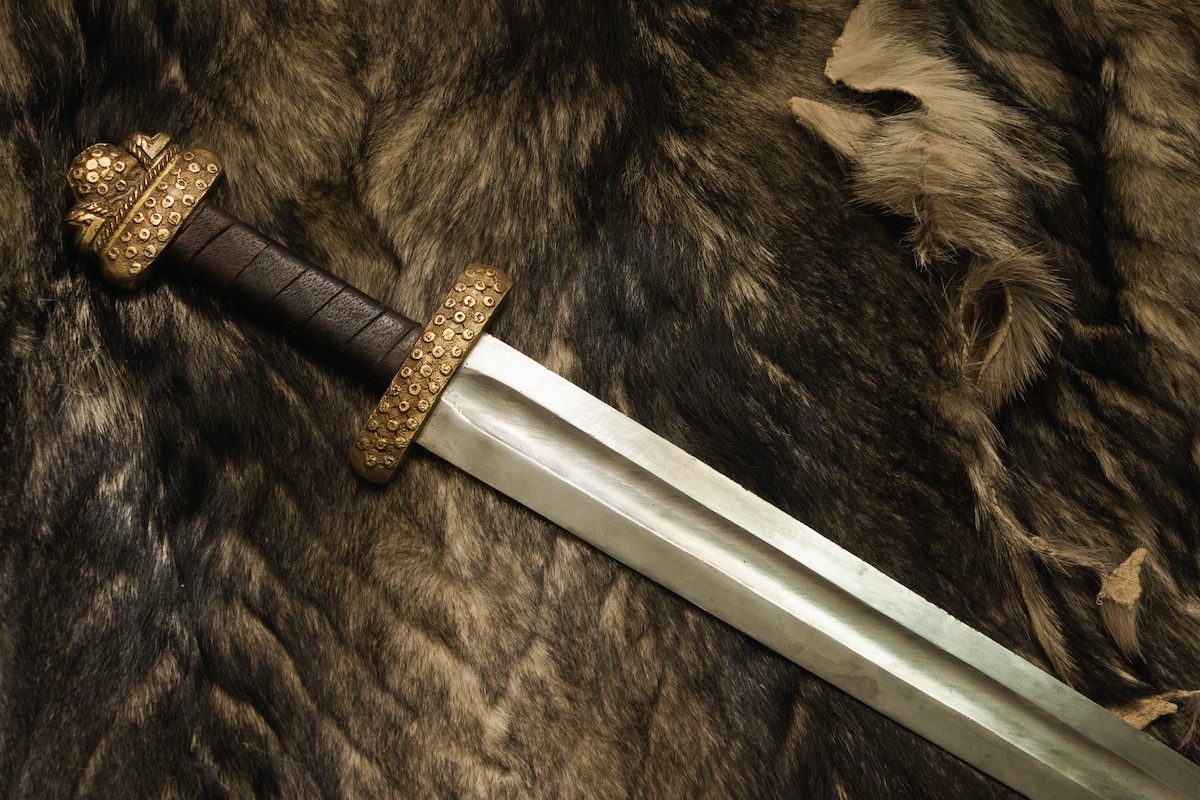 Norse & Viking Swords
 Templar Swords
 Claymore Swords
 Fantasy Swords
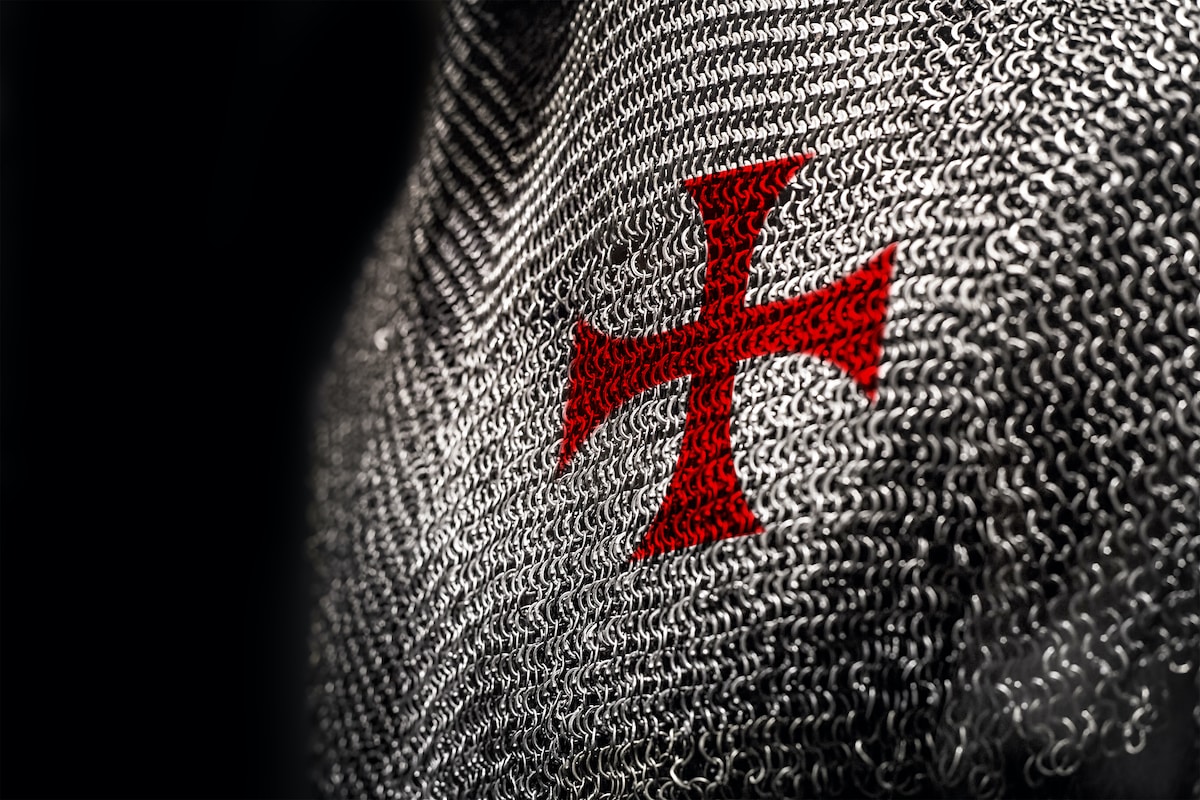 Chainmail
 Helmets
 Torso Armor
 Bracers and Arm Protection
 Gauntlets
 Leg Armor
 Cloaks
 Tabards
 Shirts
 Tunics
 Dresses
 Pants
Pants Gloves
 Belts
Belts Shoes
Shoes Rings
Rings Necklaces & Pendants
 Bracelets
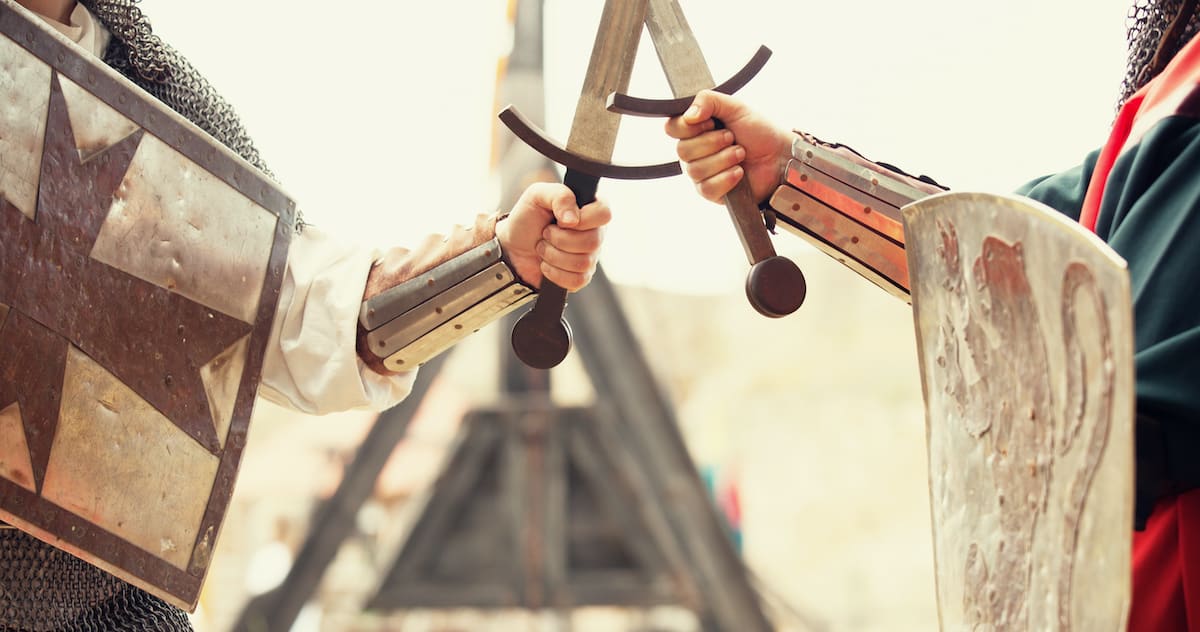
So – you think your place is in the shield-wall, do you? You reckon you could stand shoulder to shoulder with your fellow warriors, lock your broad shields together and stand firm as the legions of chaos charge towards you? You’ll need training, and that which training can never give: a stout heart. Oh, and you’ll need a stalwart shield to defend you from wailing death. You do have your own shield, don’t you? If not – you’ll have to make your own. Make it broad but wieldy. Time is short. The clouds gather in the North.
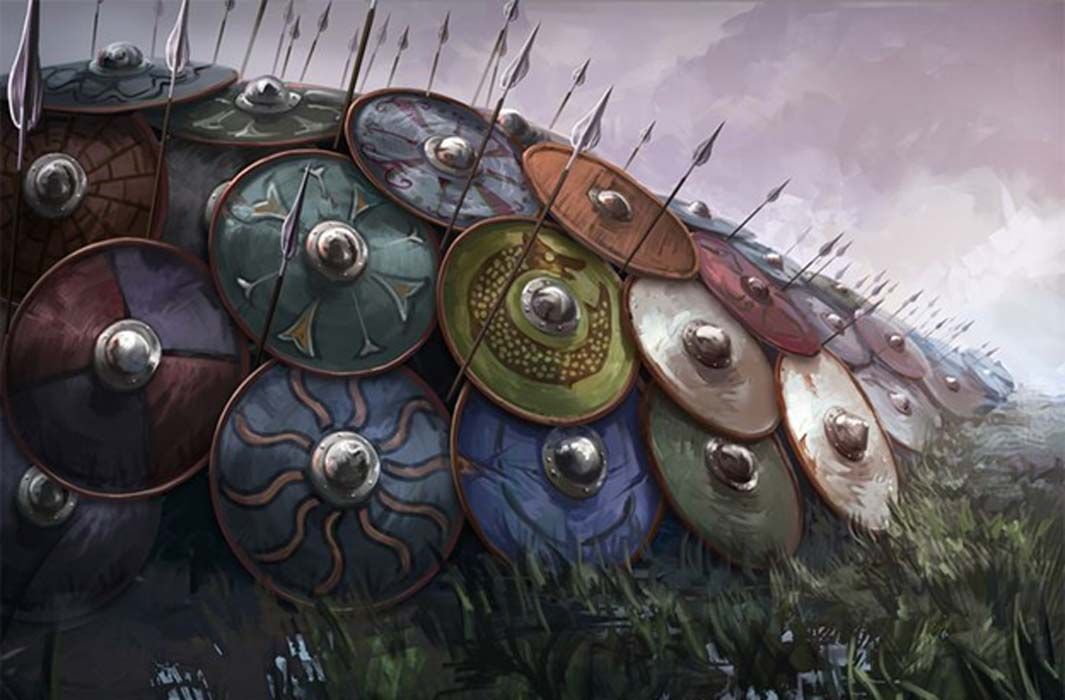
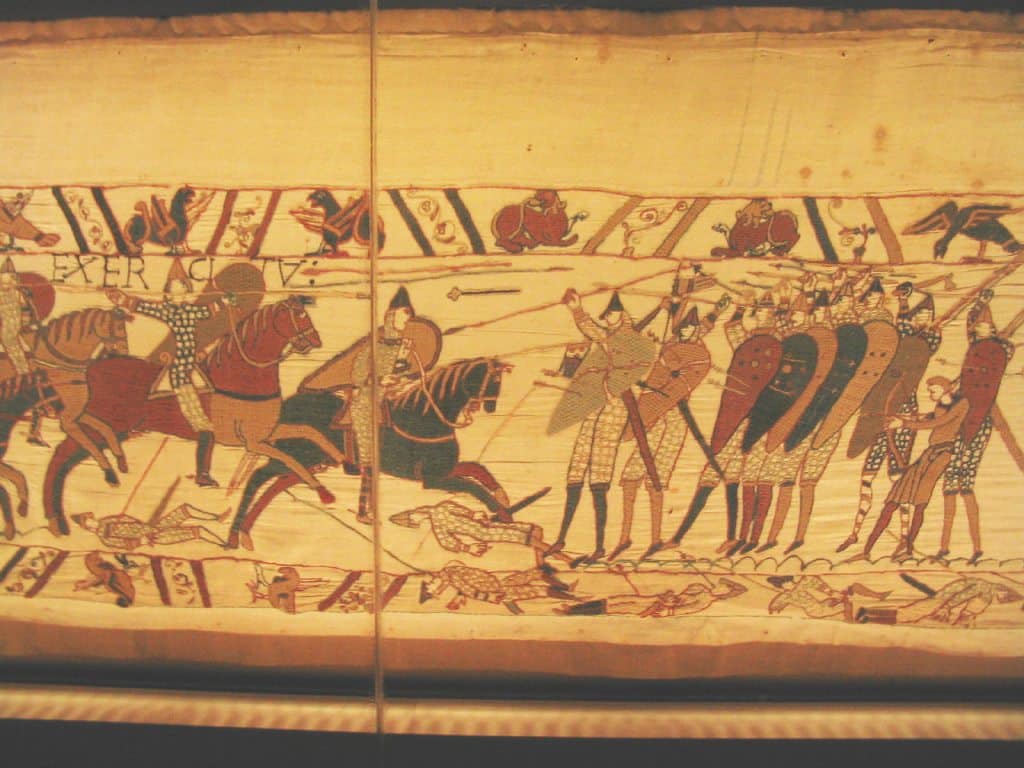
How to make a LARP shield might seem daunting but with some simple tools and techniques, you can build a fantastic LARP-safe shield that will stand up to punishment on the battlefield. A shield is a super-useful part of the LARP armory. Most LARP systems use a ‘tagging’ system, where if you’re hit anywhere on your body by any part of opponent’s weapon, you’ll lose life. This makes a shield incredibly useful: especially if you’re going to be fighting in a large melee with other players, intercepting enemy blows with a weapon is difficult to master. This mirrors the usage of shields in the historical Middle Ages: before the advent of mass-produced ‘munitions-grade’ plate armor, shields were by far the easiest and cheapest way to increase the survivability of your troops. A broad shield could cover a lightly-armored levy from throat to mid-thigh – it could block several killing blows before splintering and becoming unusable, and could fend off projectiles. They were almost universal on Medieval battlefields – and so they’re a popular choice for DIY projects
Here’s your step-by-step guide to making a LARP shield:
Step 0: Research!
Before putting craft knife to foam, it’s critical to plan your project. Almost all LARP games will have weapons and equipment checkers who will certify whether your kit is safe to use in combat, and they’ll apply a specific set of criteria. They might specific how and out of what shields have to be constructed, and so researching (or asking!) what rules you must meet means that you won’t have your DIY pride-and-joy rejected at weapons check.
Step 1: Choosing Your Materials
Selecting the right materials is critical to getting a good result – and one which you can use in your chosen LARP game. Sometimes, LARP games might specify that shields have to be made from foam, but others are more lenient and allow plywood construction. The research from Step 0 will help you select your materials. A simple LARP shield might be a simple square of plywood, edged with hosepipe and foam. A more complex design might have to be constructed from multiple layers of EVA foam. Think about what you intend your shield for: if you intend it merely as a display accessory for cosplay, then you can use lighter, less resilient materials like EVA foam; if you intend to use it in simulated combat, then you might think about a stiffer base like plywood or plastic signboard, plus foam padding. You’ll also need something to finish the surface and edges of the shield: tough duct tape is perfect. As well, you’ll need a craft knife, strong glue (either a glue gun or contact cement), and a well-ventilated craft area with cutting surface.
Step 2: Constructing your Shield
Materials required:
Cardboard for stencilling
Corrugated plastic signboard
10mm EVA foam sheets
Hot glue / contact cement
Duct tape
Craft knife
Sandpaper (optional)
Heat gun (optional)
For this shield, we’re going to make a simple round shield out of plastic signboard (‘For Sale’ signs or election signs work perfectly), with foam padding and a shield boss. But don’t be afraid to experiment! Kite shields, elven or orcish shields are all possible!
1. Draw a stencil for the shape of your shield on cardboard. At the center, draw two half-circles separated by a 2cm-wide strip – the strip is going to be your handle, and the half-circles need to be large enough to accommodate your fist (plus gauntlets) without pinching. Cut out the shield shape and the half-circles
2. Transfer the stencil onto the signboard, and cut it out. You could sand the edges to make sure it doesn’t have any sharp spots, especially in the center hand-hold. Cut another 2cm-wide strip from the signboard offcuts, and glue it onto the handle to reinforce it.
3. Take your cardboard stencil, transfer it onto the 10mm EVA foam, and cut it out. Don’t worry if you have to do this in several pieces, they will all be glued into place. Apply glue to the top surface of the shield, and affix the foam. If you are using contact cement, it might
4. Cut some long strips of EVA foam, about 5cm wide. This will be the rim band of the shield. Glue it into place, with the center of the strip in the center of the edge of the shield, with each edge wrapping around front and back. It can be helpful to do this by lying the EVA foam flat, and placing the shield edge-first onto it.
5. Cut the shield-boss out of EVA foam: a circle large enough to cover the grip-holes in the center of the shield. If you have a heat-gun, you can place the circle over a ceramic bowl and heat the foam to form it to the shape of the bowl. But it will work fine without. Glue the boss well around its edges and affix in place.
6. Cover the shield with duct tape to bind it all into place and prevent shredding.
Step 3: Decorating Your Shield
You’ve got a solid LARP shield, but it’s probably looking a bit plain. The final step is to decorate it. Duct tape is an excellent finishing material but it’s hard to paint, so one suggestion is to get coloured duct tape and use a craft knife to cut out strips to make a design for your shield! You could create your personal heraldry, or even detailed artwork! Another idea is to color it in with waterproof markers.
There you have it – you now know how to make your own LARP shield. The main thing to keep in mind when making your own LARP shield is safety: build to the safety requirements of your chosen LARP game, and if in doubt, add more foam on! As well, don’t be afraid to experiment: these plans are only the roughest suggestion, and they can be adapted for a whole range of different materials and designs. Now, take your place in the shield wall!


