There’s a huge range of LARP weapons available off the shelf – and we stock the very finest of them all, combining safety and durability with a gorgeous variety of fantasy-medieval aesthetics. But sometimes, you just can’t quite find what you want – or maybe you want a unique LARP weapon that nobody else on the battlefield has. But despair ye not! With our handy guide on how to make foam weapons for LARP, you can design and build a heroic weapon that will ring down the halls for the ages.
This guide will cover how to make foam weapons for LARP such as axes and hammers. Making a LARP sword requires a bit of a different technique, so please refer to our in-depth LARP sword-making guide here. If you want to pair your foam LARP weapon with a shield, then we’ve got you covered in our LARP shield-making explainer.
So, to arms! By the time you’re done, you’ll know how to make foam weapons for LARP, and you’ll be storming the breaches with the best of them.

Step 1: Check Your Safety Rules
Before you even start to think about materials and designs, take a step back and ask yourself: what am I going to use this LARP weapon for? Is it just for display in a cosplay environment? Am I going to use it in a casual non-combat LARP with friends? Or am I going to use it in a contact-combat environment with specific rules and regulations regarding weapon design? Your answers will dictate how you create your weapons. Compliance with the safety rules of your chosen LARP game is probably most important: they might specific certain materials, or certain types of construction, and they’ll reserve the right to not permit you to play if your weapon is deemed unsafe. If you’re not sure about the rules, then just get in contact with the game organizers – they’ll be more than happy to advise you.
Step 2: Choosing Your Materials
Once you’ve thought about what purpose and safety requirements your foam LARP weapon is going to have, now it’s time to collect your materials. If you’re building a cosplay weapon, you might choose easily mouldable materials like foam clay or Worbla (heat-mouldable foam) – and if you have a lot of money to burn, you might even choose to experiment with foam casting! But for the purposes of this walkthrough, we’re going to use EVA foam and a wooden shaft. This is a common and simple design – but it might not be commensurate with all LARP safety regimes, so check before you proceed.
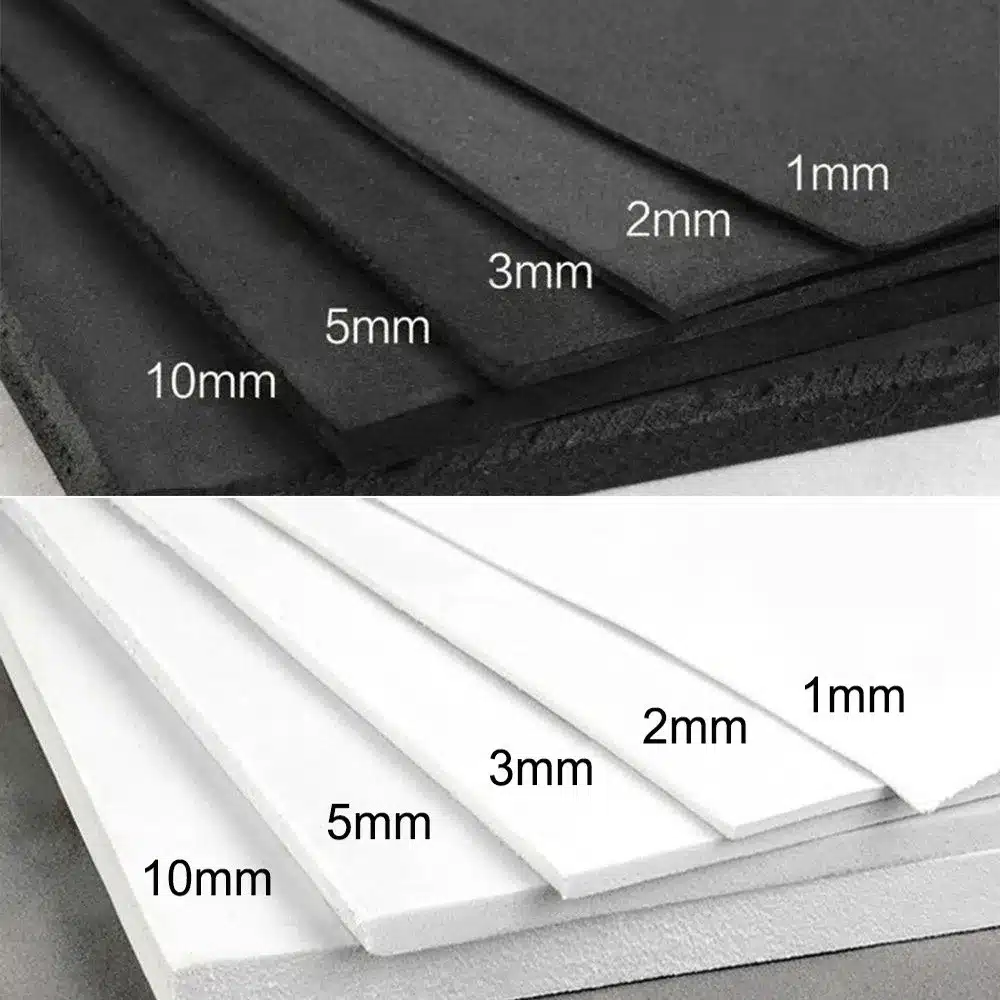
EVA foam is an excellent choice for LARP weapons because it’s lightweight, robust and tear-resistant. It can be sanded and shaped with fine sandpaper. And moreover, it’s very cheap and available almost everywhere! Craft shops, hobby stores and hardware stores will often stock it – even EVA play mats and yoga mats will do in a pinch. Since we’re going to be making an axe, you’ll likely need about three layers of 10mm to make a satisfying and robust axe head. As well as the material for the head, you’ll need material for a shaft – we’ve chosen a simple softwood handle. If you have the tools, you can shape your own using a plane or a draw-knife – but many hardware stores will sell you a simple length of 15mm (5/8”) dowel. A single-handed axe shaft is about 50-60cm in length (20” – 24”).
As well, you’ll need some way of securing the axe head to the shaft. You’re going to make it nice and snug, but some LARP games will require that it be glued (with either cheap-and-dirty hot glue or solid-but-nasty contact cement). Either way, think about finishing it with a cord or a leather/faux-leather wrap.
Checklist
Materials:
– 10mm EVA foam
– Wooden shaft 50-60cm (20” – 24”)
– Binding or leather for finish
– Paint (and/or woodstain)
– Clear-setting liquid latex to finish
– Glue (hot glue or contact cement)
– Cardboard for templating
Tools:
– Craft knife
– Sandpaper (240 grit max)
– Drill
– Coping saw
– Plane / draw-knife (if shaping own shaft)
– Paintbrushes
Step 3. Assemble Your Weapon
1. Make a cardboard template for the shape of your weapon’s head. Use historical inspiration – and don’t be afraid to experiment!
2. Cut 2-3 copies of your template out of 10mm EVA foam using a craft knife.
3. Glue/contact cement these three layers together to make a blank – don’t worry if it’s quite blocky at this stage, we’re going to shape it.
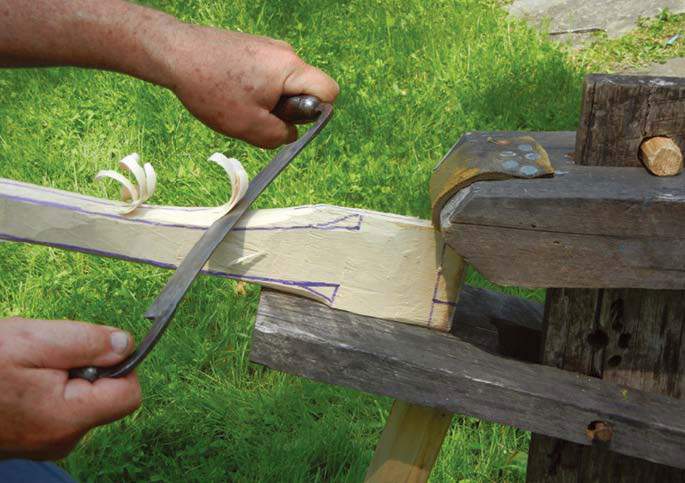
4. Place the end of your axe shaft where you want the hole through your weapon head. Draw around it, then mark the centre of it. Then, drill all the way through it. This will allow you to thread a coping saw through the hole, and you’ll be able to carefully cut it out the whole way through the axe head. Make sure you don’t widen it too much – you’ll want it to be a nice snug fit on the shaft.
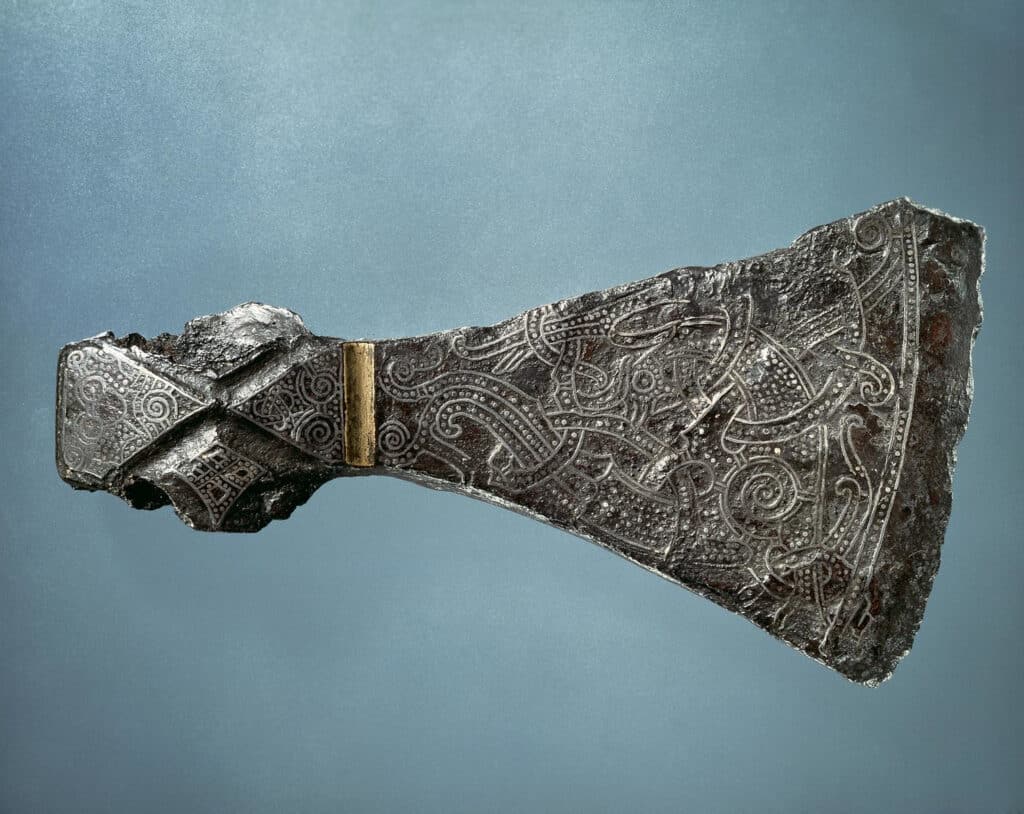
5. Using a craft knife, shape the edges of the foam into a rough chamfered axe profile, then finish it off with sandpaper. Good high-quality photos of historical axes on the internet can give you examples to follow.
6. Place a good amount of glue on the top couple of inches of the axe shaft, and gently knock the axe head down onto the shaft, so that the top of the shaft is slightly protruding from the top. If you’re using contact cement, you’ll have to do this fairly quickly!
Step 4: Finishing Touches
There you have it, you now know how to make foam weapons for LARP! It’s probably looking a little plain, so you can complete some finishing touches. Paint or spray the axe head with layers of metallic paint – if you do a couple of layers from dark to light, you can use highlights to give it a sharpened look. You can also stain or paint the handle at this point. You’ll want to seal the painted foam with a good coat of clear-setting liquid latex to protect the paint. And finally, you can finish the axe with any final decorative elements you want, such as a cord wrap or a leather covering.
So – take up your unique war axe, give it a suitably heroic name, and charge into battle!

 Historical Swords
 Norse & Viking Swords
 Templar Swords
 Claymore Swords
 Fantasy Swords
 Chainmail
 Helmets
 Torso Armor
 Bracers and Arm Protection
 Gauntlets
 Leg Armor
 Cloaks
 Tabards
 Shirts
 Tunics
 Dresses
 Pants
Pants Gloves
 Belts
Belts Shoes
Shoes Rings
Rings Necklaces & Pendants
 Bracelets


